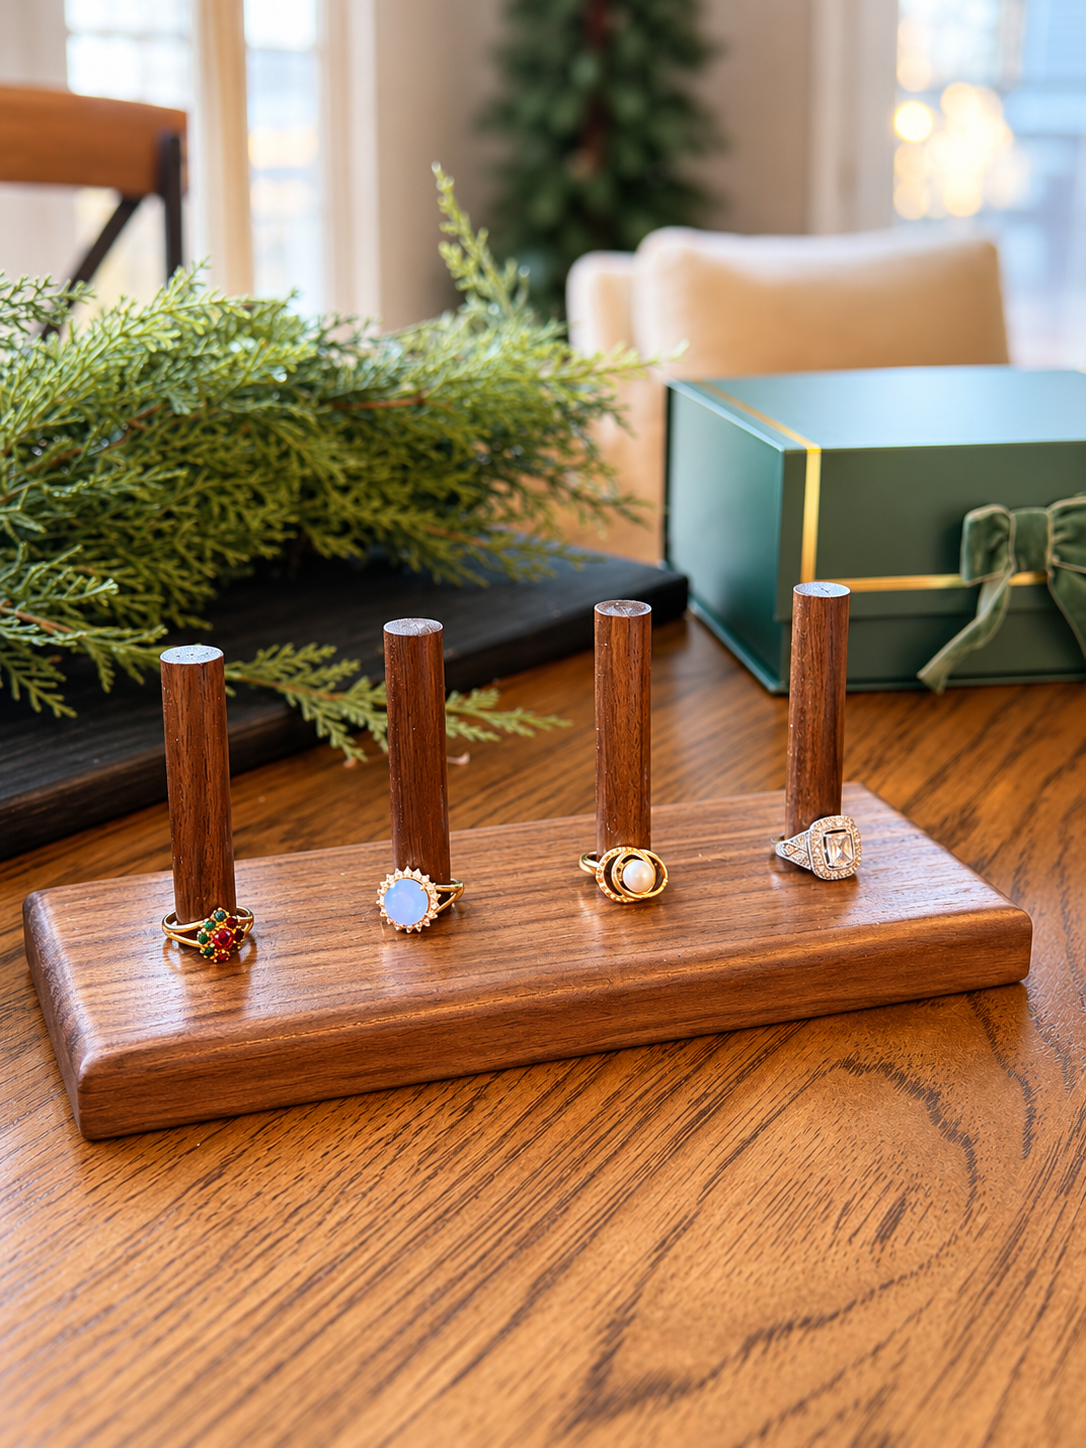
Sometimes the simplest DIY projects end up being my favorites, and this walnut ring holder is definitely one of them!
For Day 2 of my Gifts by Ashley series, I wanted to make something for my older sister. She loves jewelry, so I thought a handmade ring holder would be the perfect gift.
I also wanted something that looked like it belonged in a high-end home decor store, without requiring a ton of materials or time to build.
With just a small piece of walnut, a few wooden dowels, and some basic woodworking tools, I created this simple ring holder that's both beautiful and functional.
And the best part? It's a beginner-friendly woodworking project!
Materials You'll Need
Walnut board: ¾" thick × 3" wide × 24" long (you'll only need 9" of the board)
Walnut dowels: ½" diameter (perfect size for all rings)
Sandpaper (180 and 220 grit)
Tools You'll Need
Miter saw or another saw for cutting the wood
½" drill bit (a brad-point bit works especially well)
Router with a ⅛" roundover bit
Measuring tape
Pencil
Clamps
The router is optional, but I love how the slightly rounded edges give the finished piece a more polished look.
Finished Ring Holder Dimensions
Here's the design I planned for this project:
Component Dimensions:
Walnut base: 9" L × 3" W × ¾" H
Walnut dowels: Four pieces, 3" long
These dimensions are easy to customize depending on how many rings you want to display.
Step 1: Cut Your Walnut Base
Start by cutting your walnut board down to 9 inches long.
I chose walnut because I absolutely love its rich, natural color. It already looks beautiful without stain, which makes it perfect for a quick project like this.
Since the board is already 3 inches wide and ¾ inch thick, you only need to make one cut to create the base.
Give the edges a quick sanding to remove any rough spots.
Step 2: Round the Edges
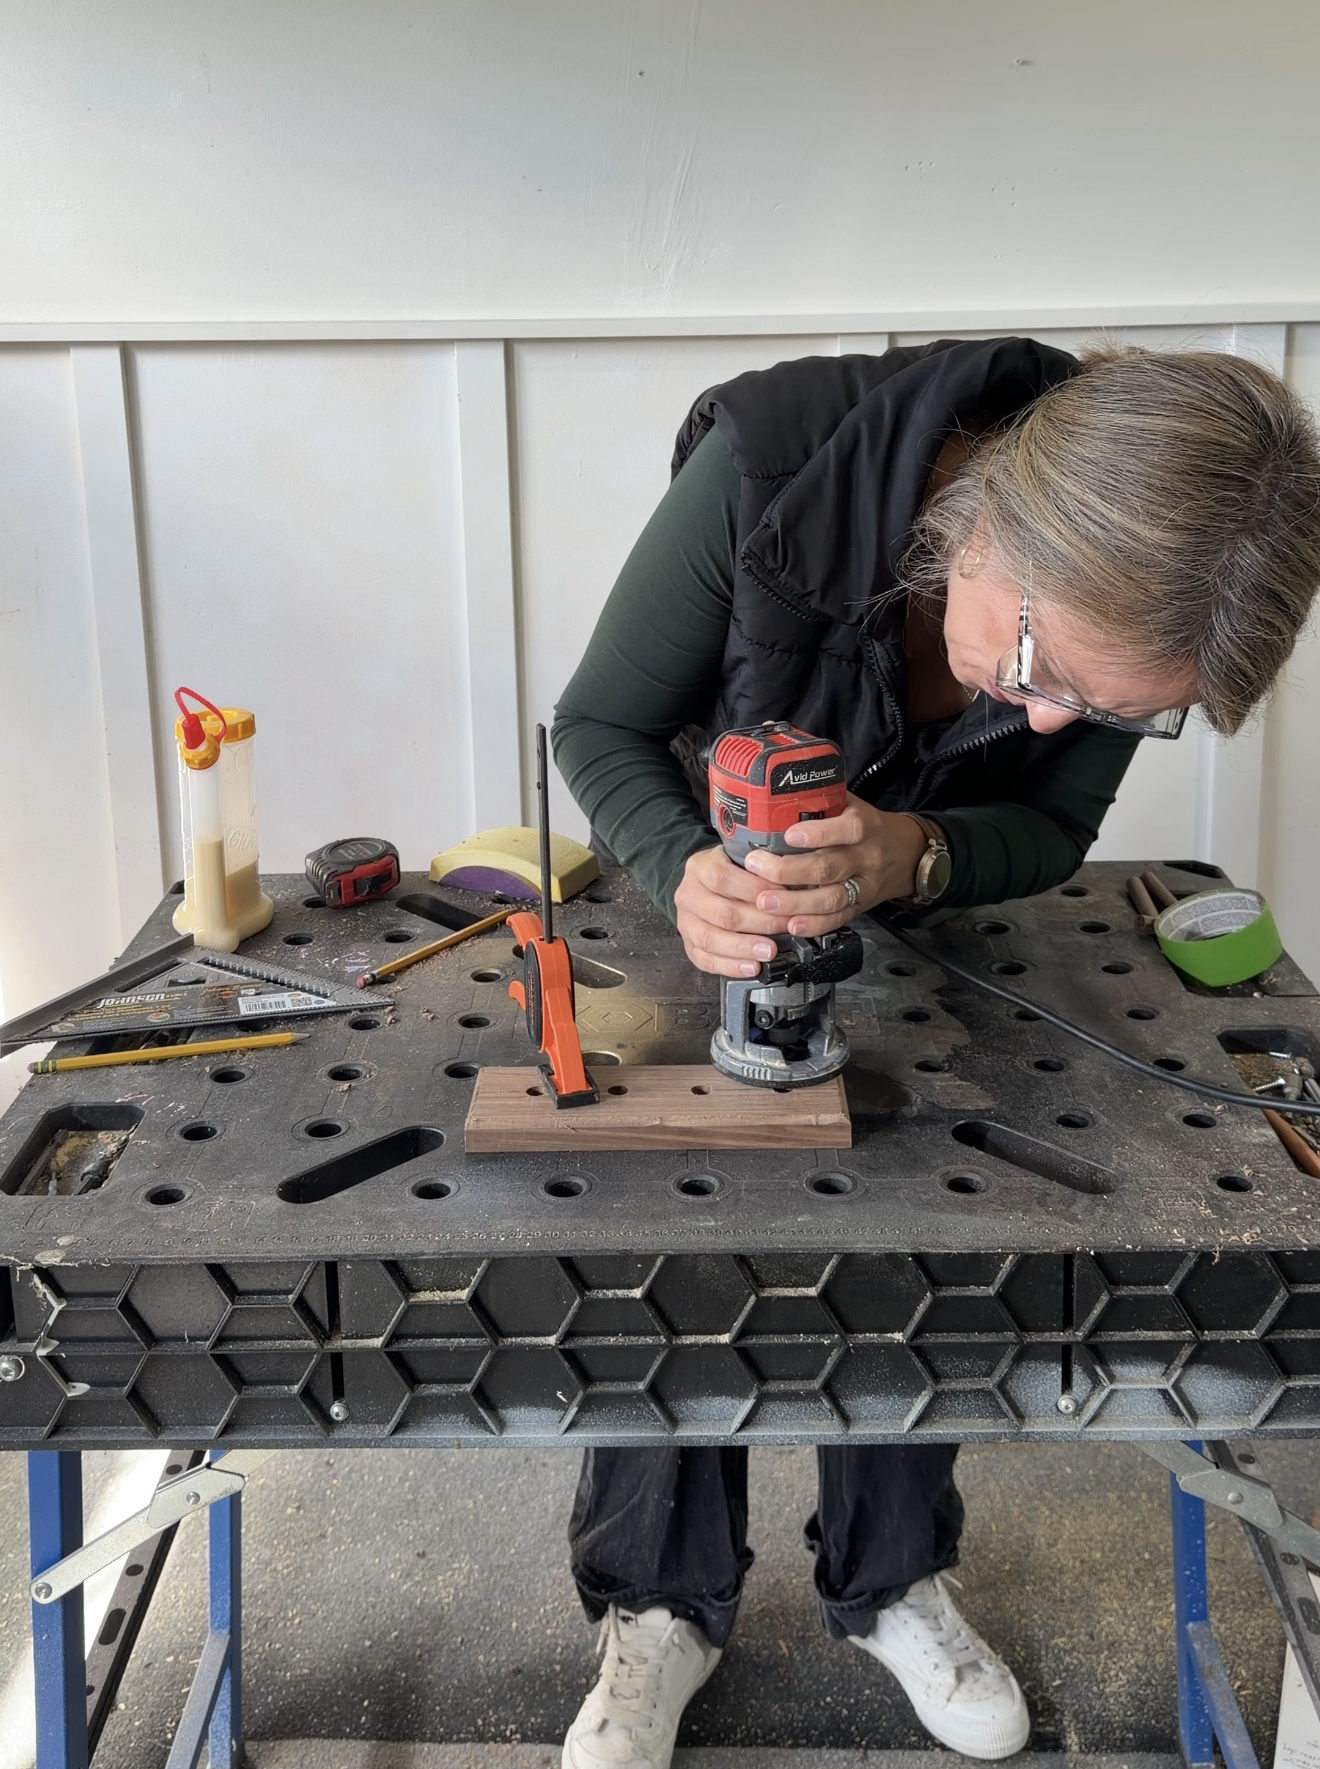
This step is optional, but I think it makes a huge difference in the finished project!
I used a router with a ⅛-inch roundover bit to soften the top edges of the walnut base.
It's a small detail, but it makes the piece look more finished and less like a basic piece of lumber.
If you don't have a router, you can soften the edges by hand with sandpaper instead.
I kept the bottom edges square so the ring holder would sit flat.
Step 3: Measure and Drill the Dowel Holes
Next, it's time to figure out where your dowels will go.
For a simple, evenly spaced design, mark the centerline of the board at 1½ inches from the long edge.
Then measure and mark your four dowel locations along that line:
1½ inches from one end
3½ inches from that end
5½ inches from that end
7½ inches from that end
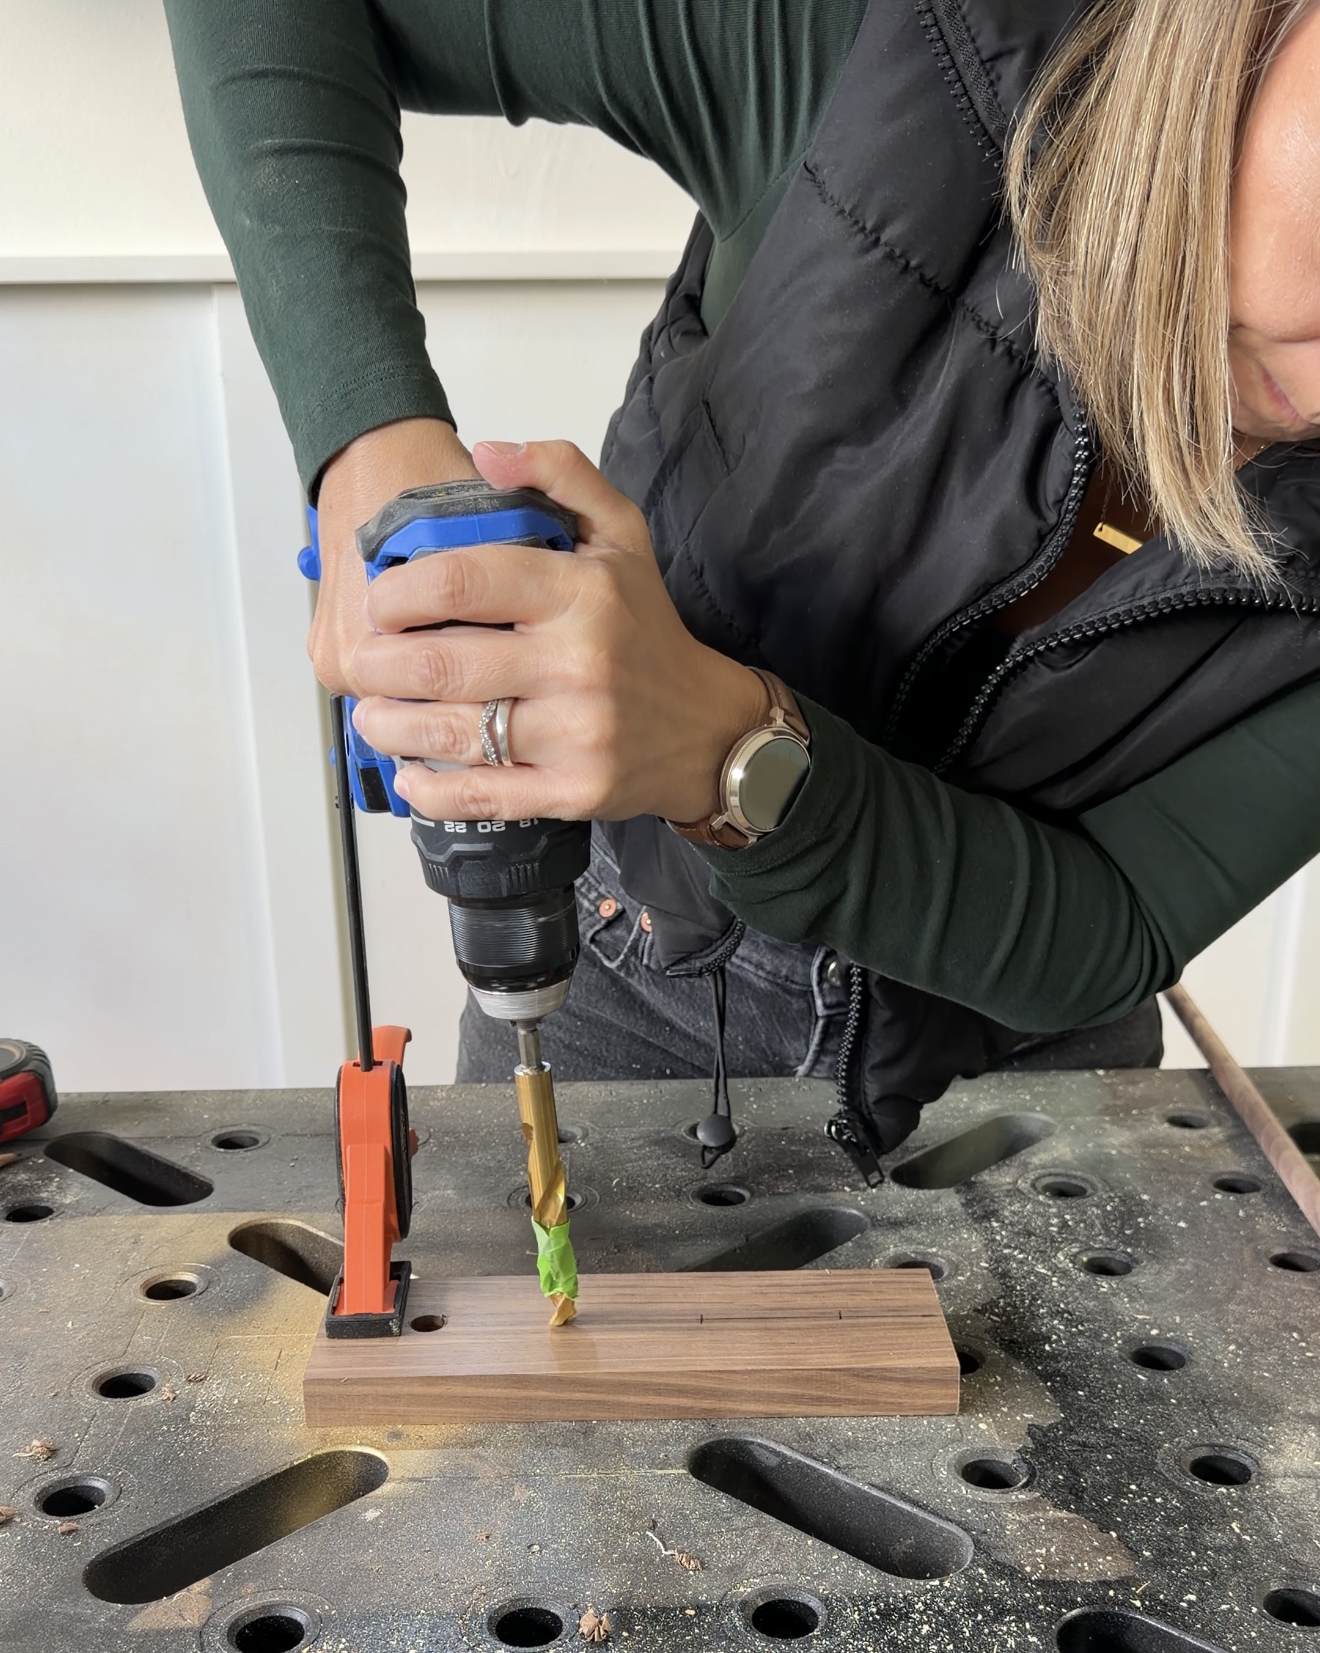
Using a ½-inch drill bit, drill each hole approximately ⅜ inch deep.
Tip: Use painter's tape on your drill bit to mark your desired depth. This helps keep your holes consistent and prevents you from accidentally drilling through the bottom of the board.
Try to keep the drill perpendicular to the base so your dowels stand straight.
Step 4: Cut and Sand the Walnut Dowels
Cut four pieces of ½-inch walnut dowel, each measuring 3 inches long.
Use sandpaper to smooth the cut ends and slightly round the tops. You don't want any rough edges catching on your rings.
Before adding glue, place each dowel into its hole to check the fit.
Once everything fits correctly, you're ready to assemble!
Step 5: Glue the Dowels Into Place
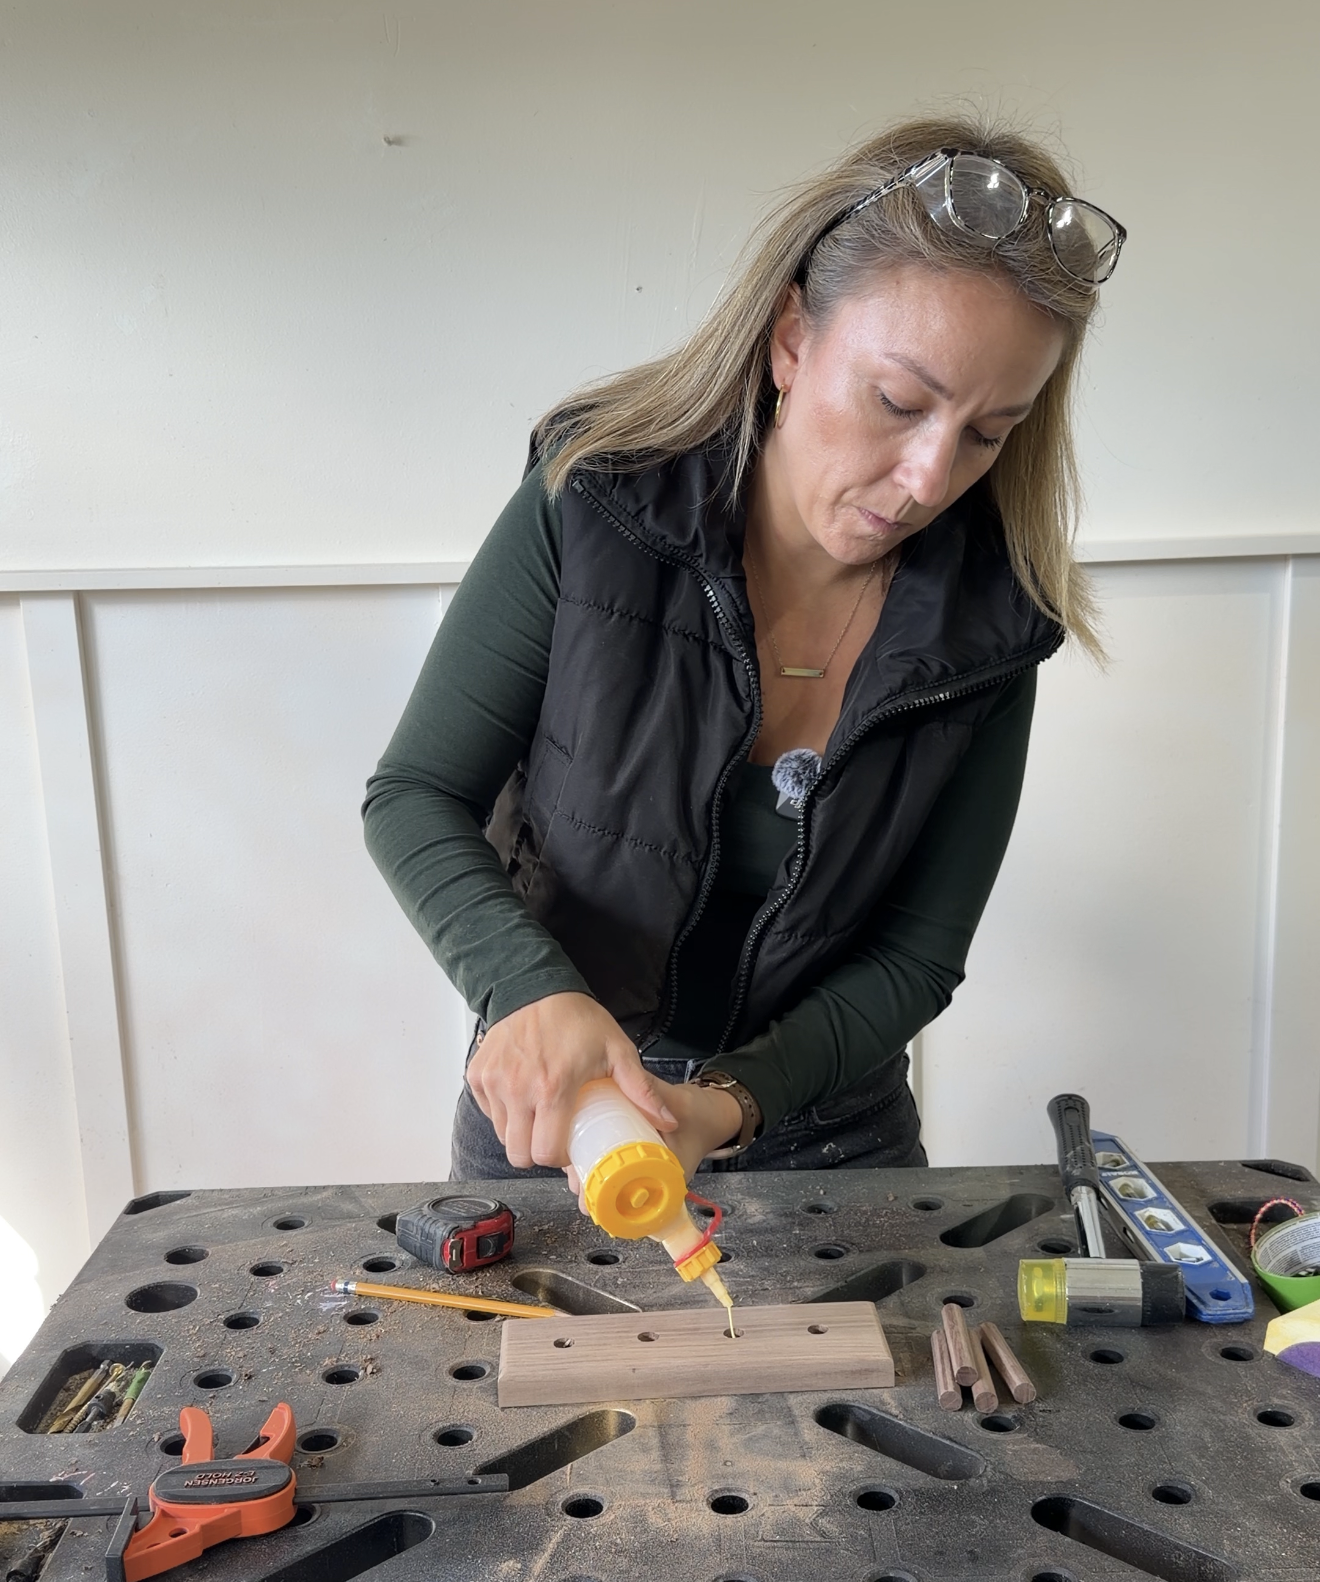
Add a small amount of wood glue inside each drilled hole.
Insert your dowels, making sure they're fully seated and standing straight.
Wipe away any excess glue with a damp cloth before it dries.
Allow the glue to cure according to the manufacturer's instructions before handling the finished ring holder.
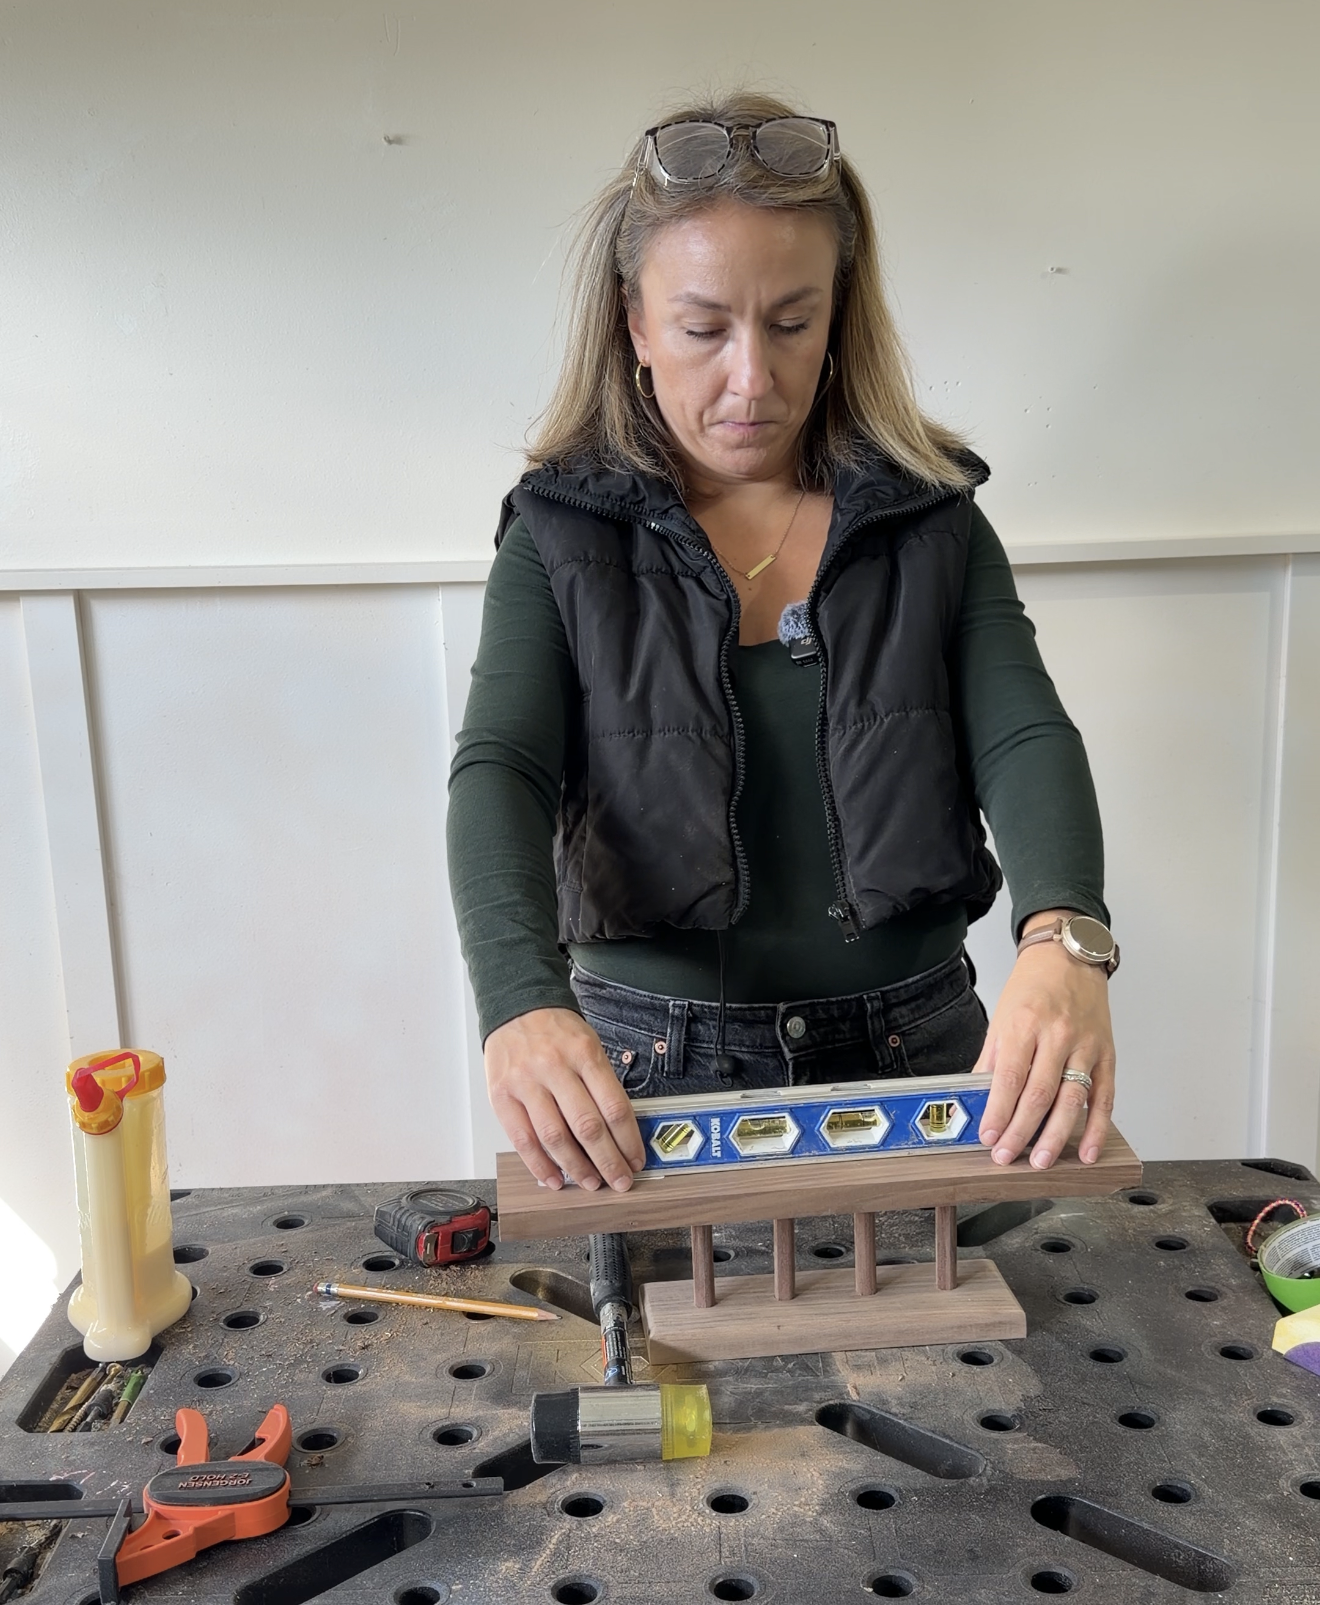
Use a scrap piece of wood and a level to ensure the dowels are all sitting straight. If they aren’t, just take a hammer and lightly tap down the scrap piece of wood until level.
Step 6: Sand and Finish
Once the glue has dried, give the base one final sanding if needed.
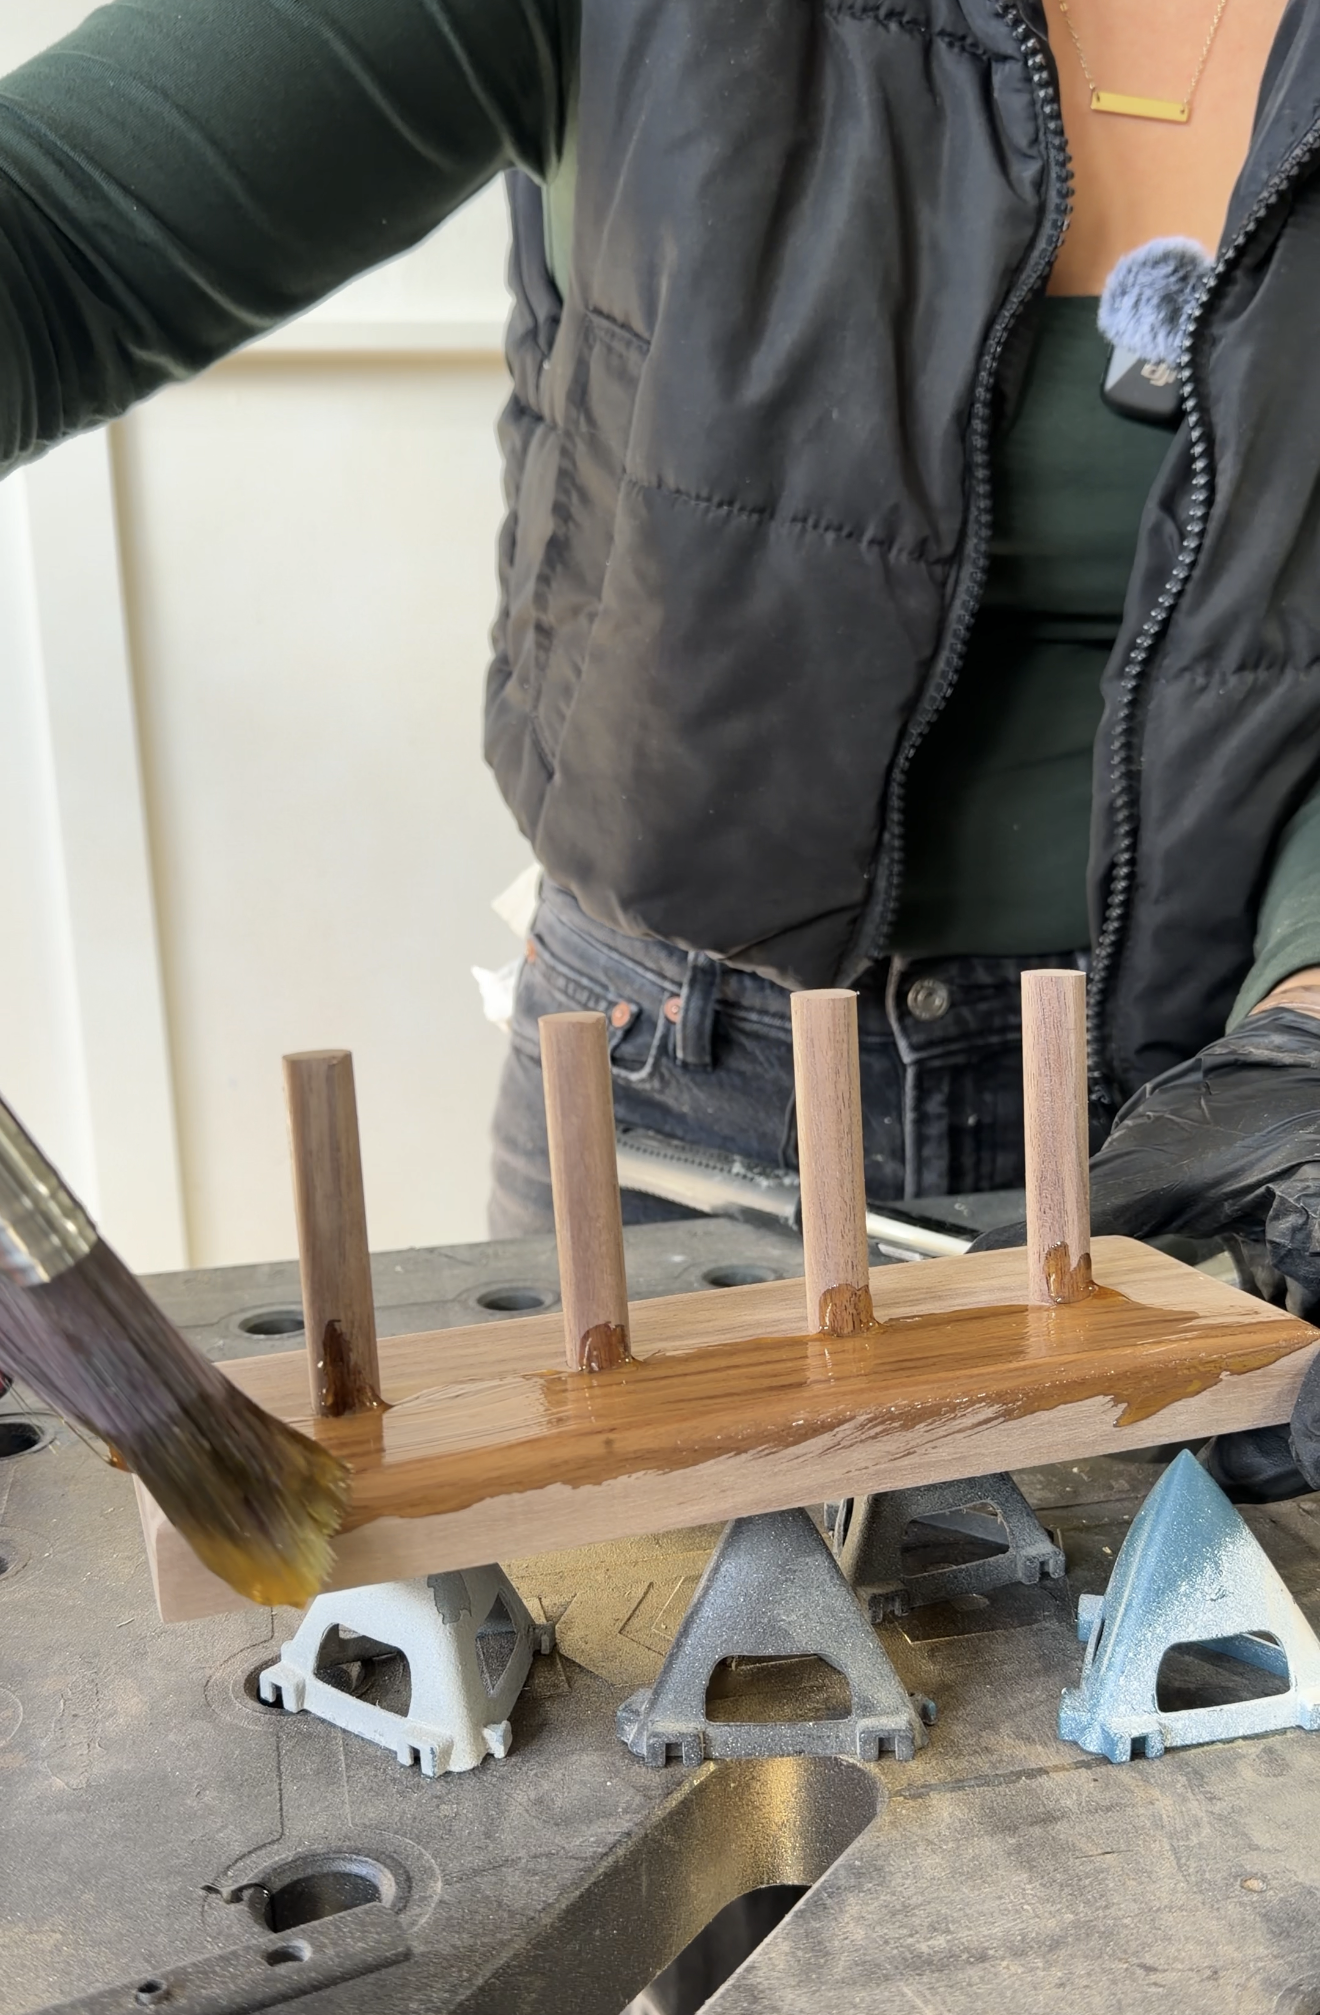
I recommend finishing walnut with a clear protective finish rather than stain because the natural wood grain is already gorgeous.
A clear finish helps bring out the warm, rich tones of the walnut while protecting the wood.
Just make sure the finish has fully cured before placing jewelry on the holder.
Make It a Gift!
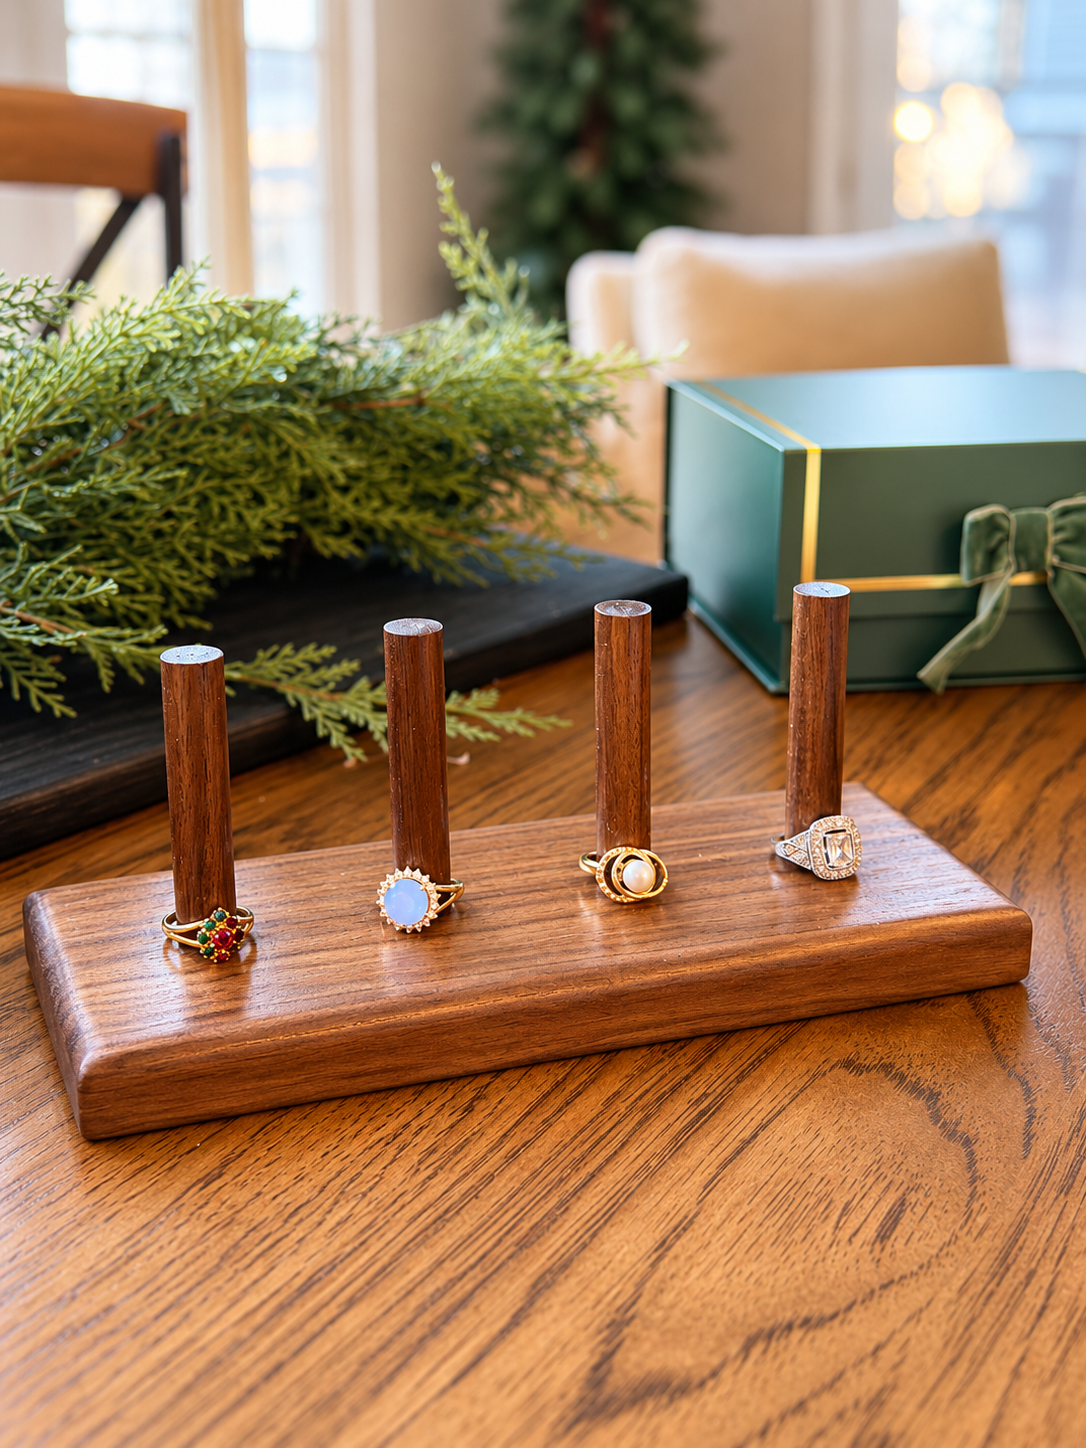
Since this was part of my Gifts by Ashley series, I wanted the presentation to feel just as special as the project itself.
Adding a few rings to the holder before packaging it is such a simple way to show off the finished piece.
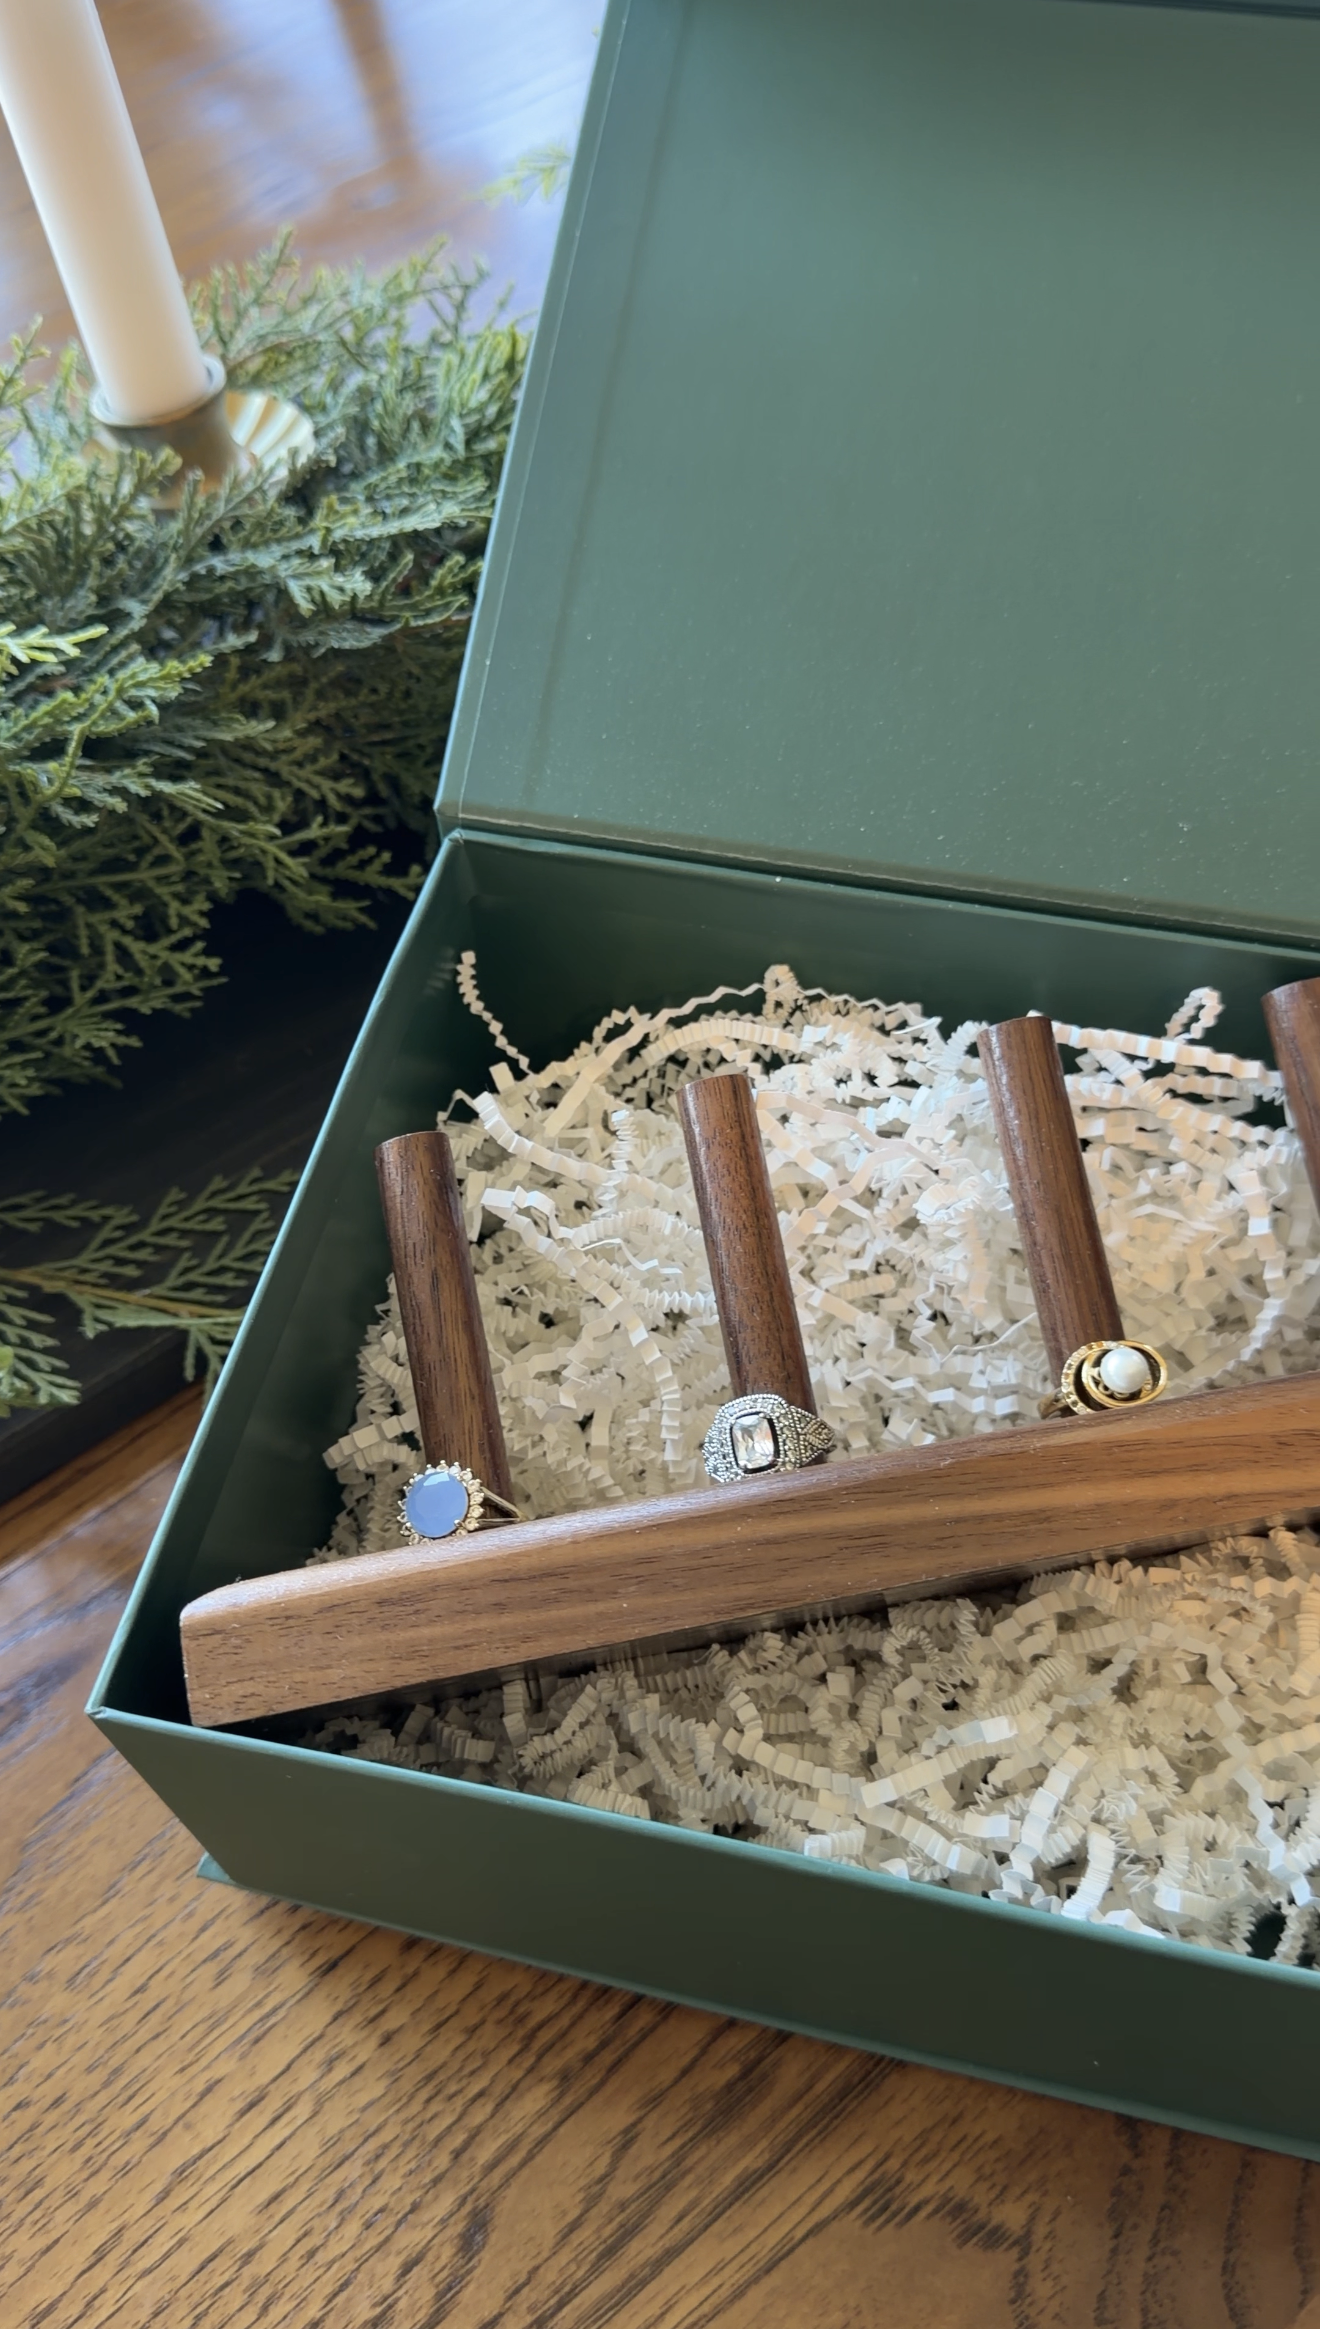
You could also place it in a gift box with some crinkle paper and finish it with a pretty ribbon.
It would make a beautiful gift for a sister, mom, friend, or anyone who loves jewelry.
Can You Customize This Ring Holder?
Absolutely!
One of the things I love about this project is how easy it is to make your own.
You could make the base longer, add more dowels, or use different dowel heights to accommodate larger rings.
You could also use another hardwood, like oak or maple, if you prefer a lighter finish.
Final Thoughts
This is exactly the kind of project I wanted to create for my Gifts by Ashley series: something handmade that doesn't necessarily look homemade.
It's practical, simple, and doesn't require a complicated woodworking setup.
Plus, you can make more than one ring holder from a single walnut board, which makes it a great option if you're creating multiple gifts this holiday season.
If you make one, I'd love to see how yours turns out!
Happy building!
— Ashley