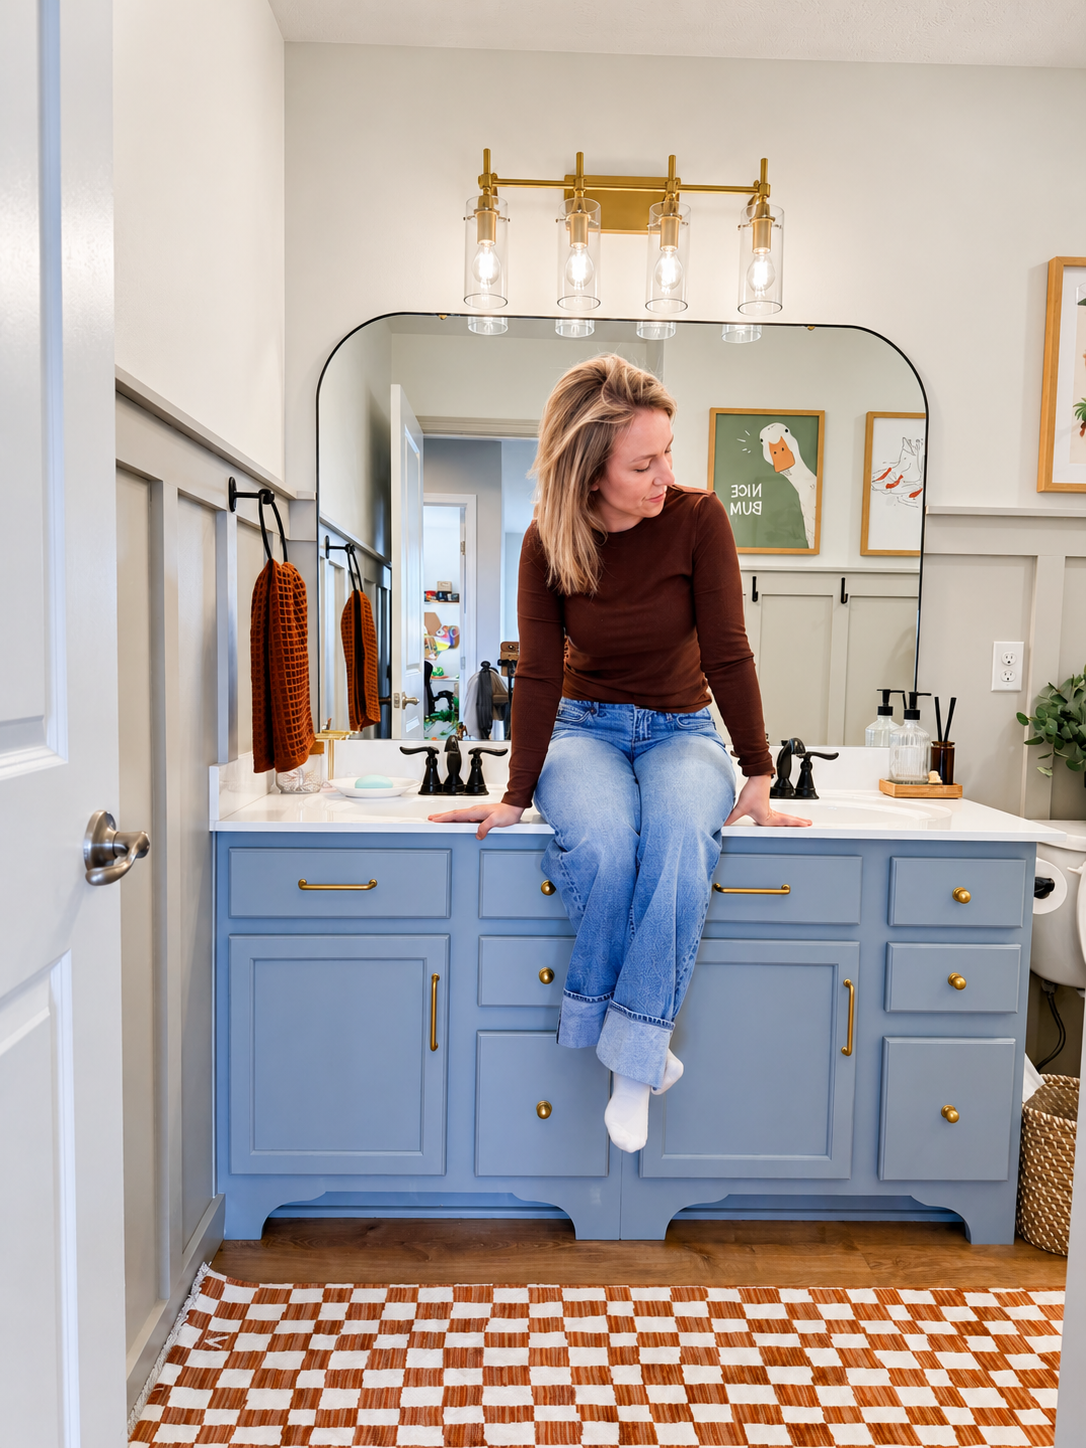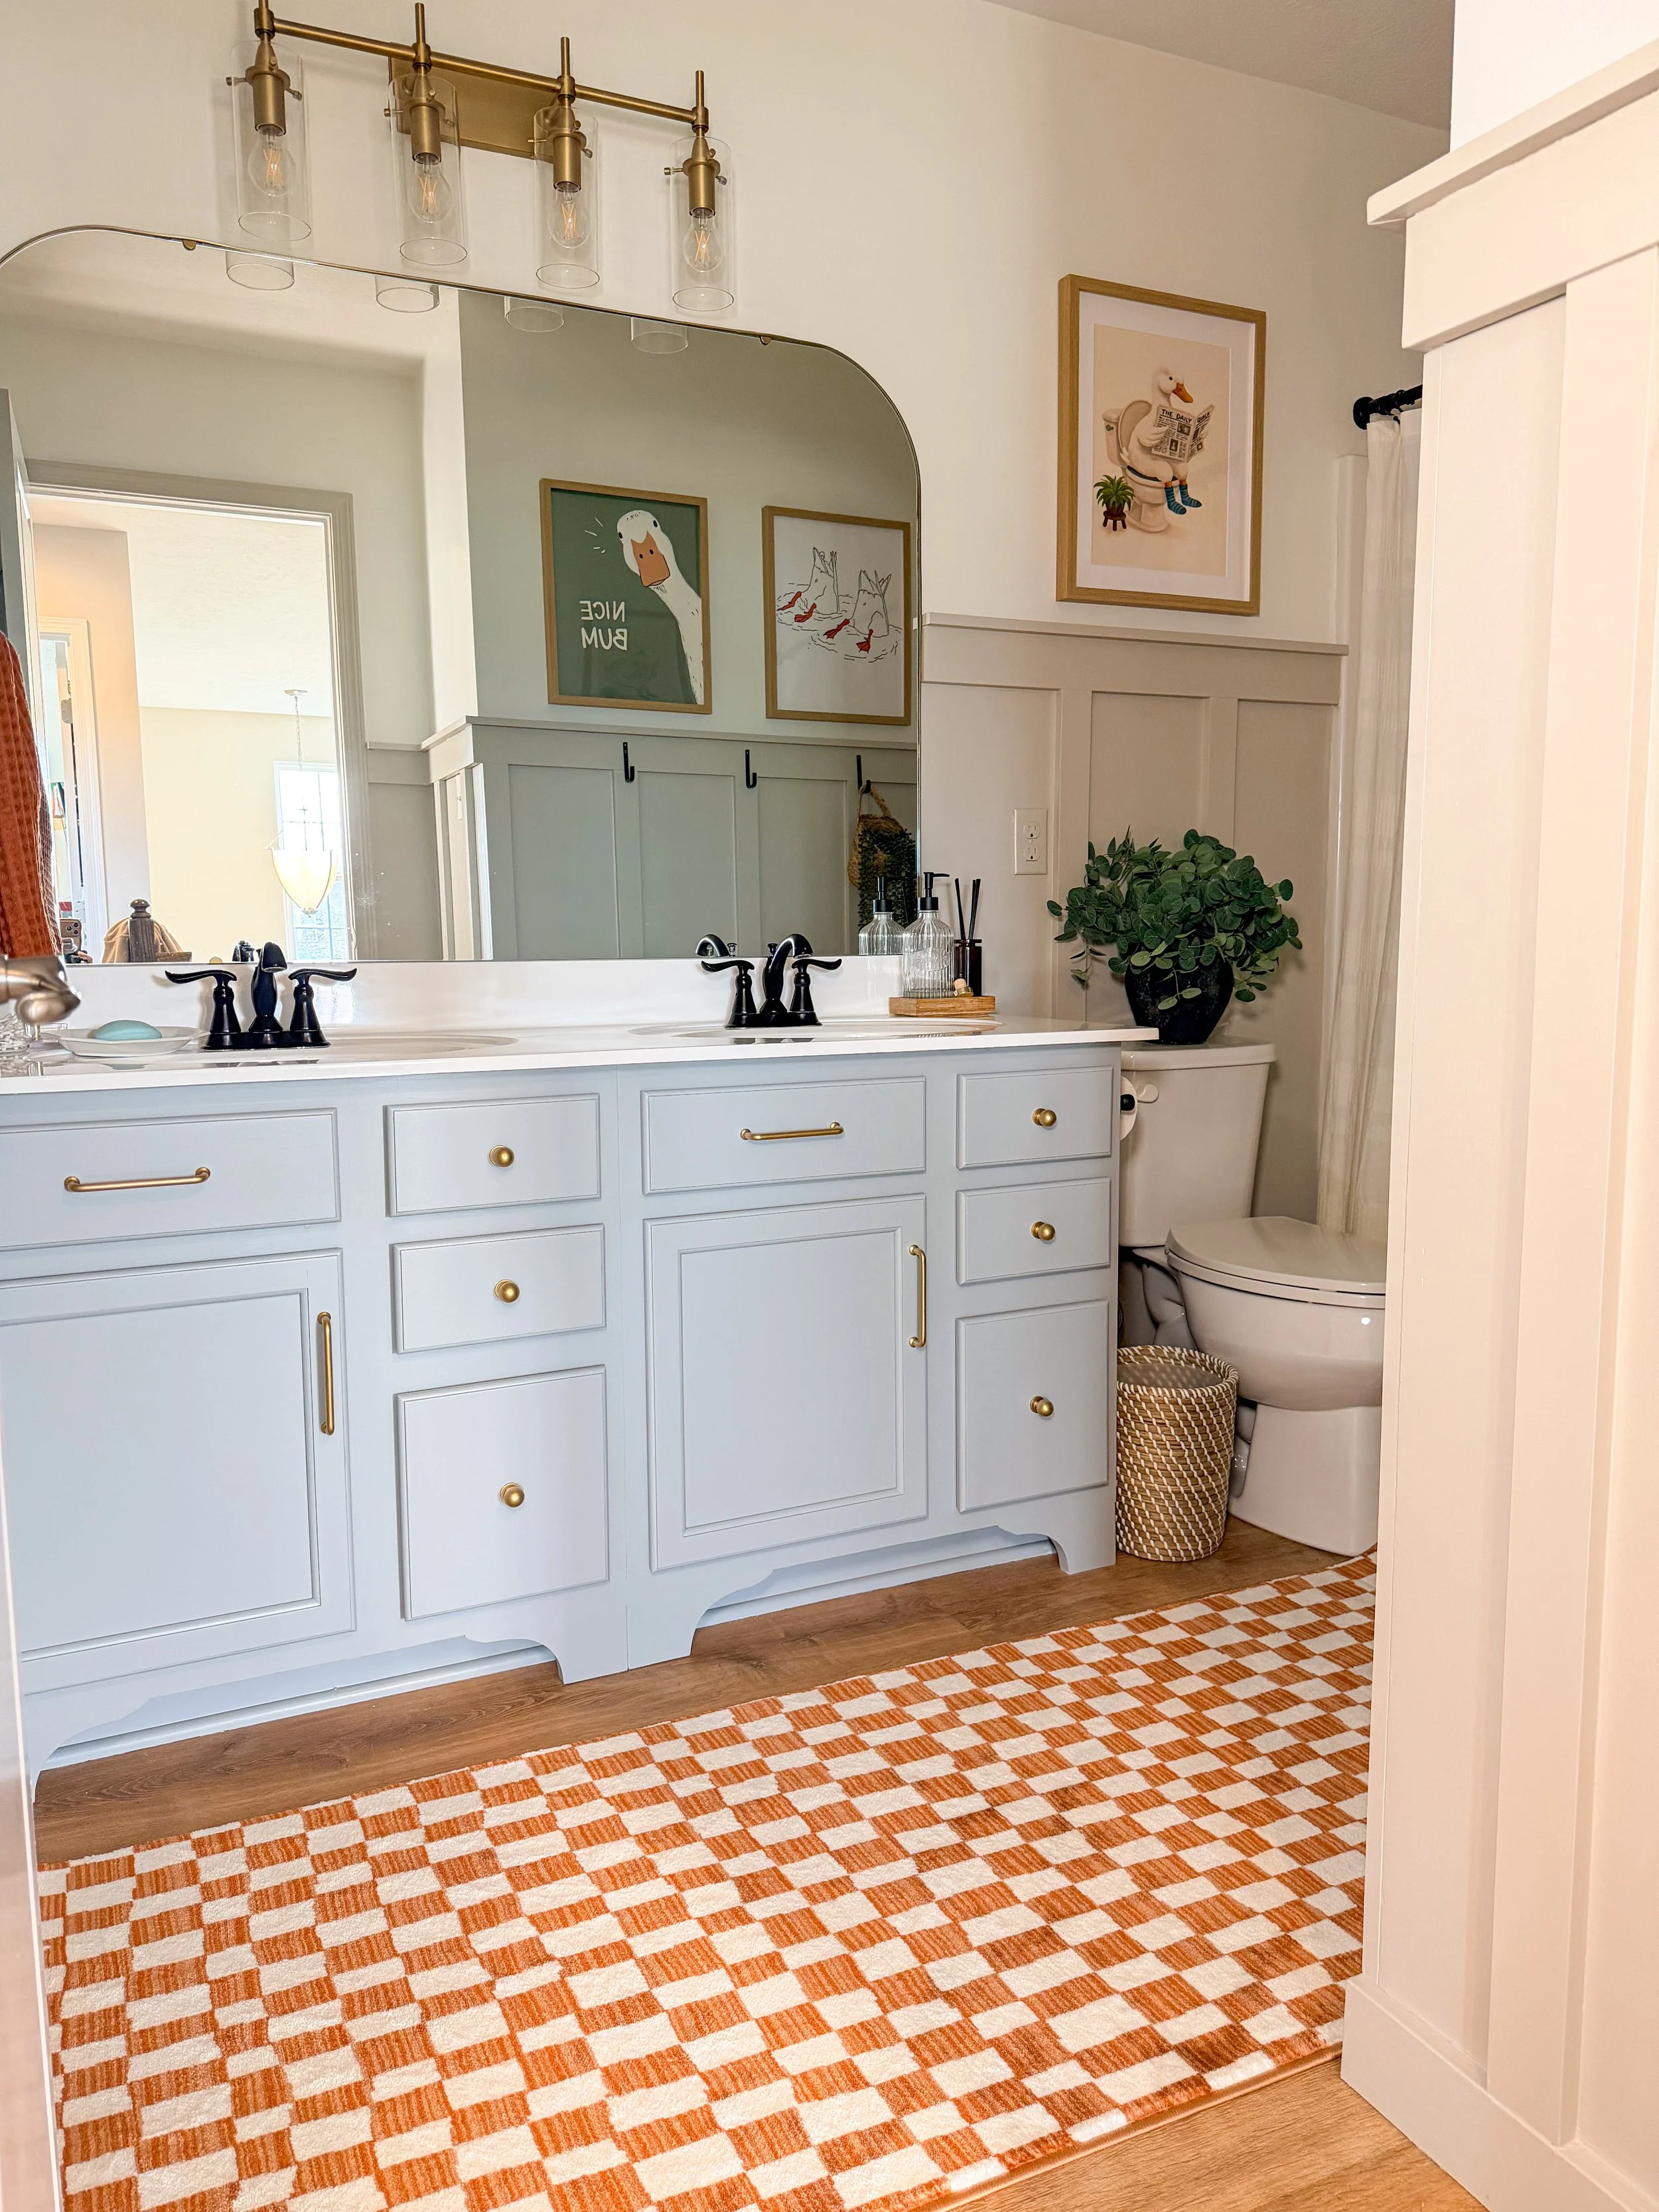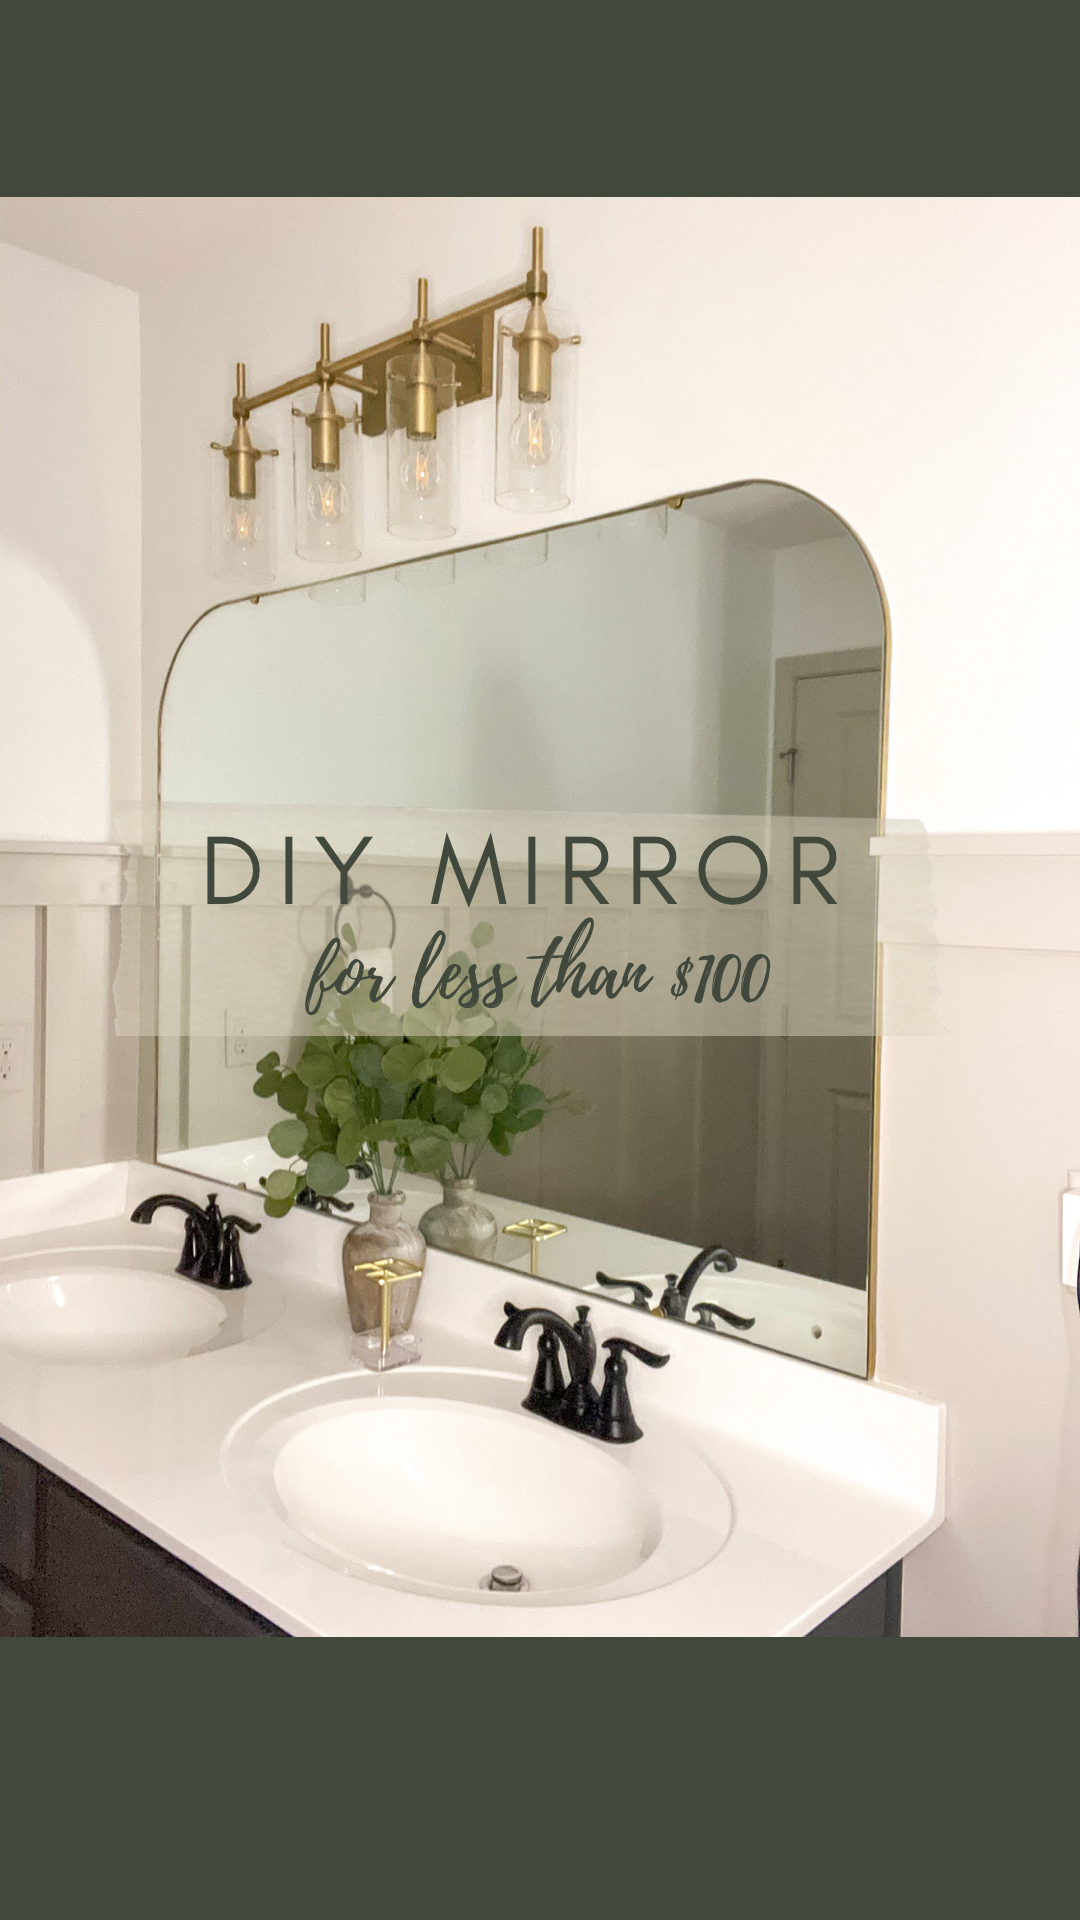
You know those gorgeous arched mirrors you see at West Elm that you immediately fall in love with...until you see the price tag? Yeah, those.
I absolutely love the look of a simple arched mirror with a thin gold frame, but spending $700 on a bathroom mirror? I just couldn't justify it.
So naturally, I decided to figure out how to make one myself. 😂
And here's the best part: I created my own West Elm-inspired arched mirror for less than $100 by reusing the mirror I already had!
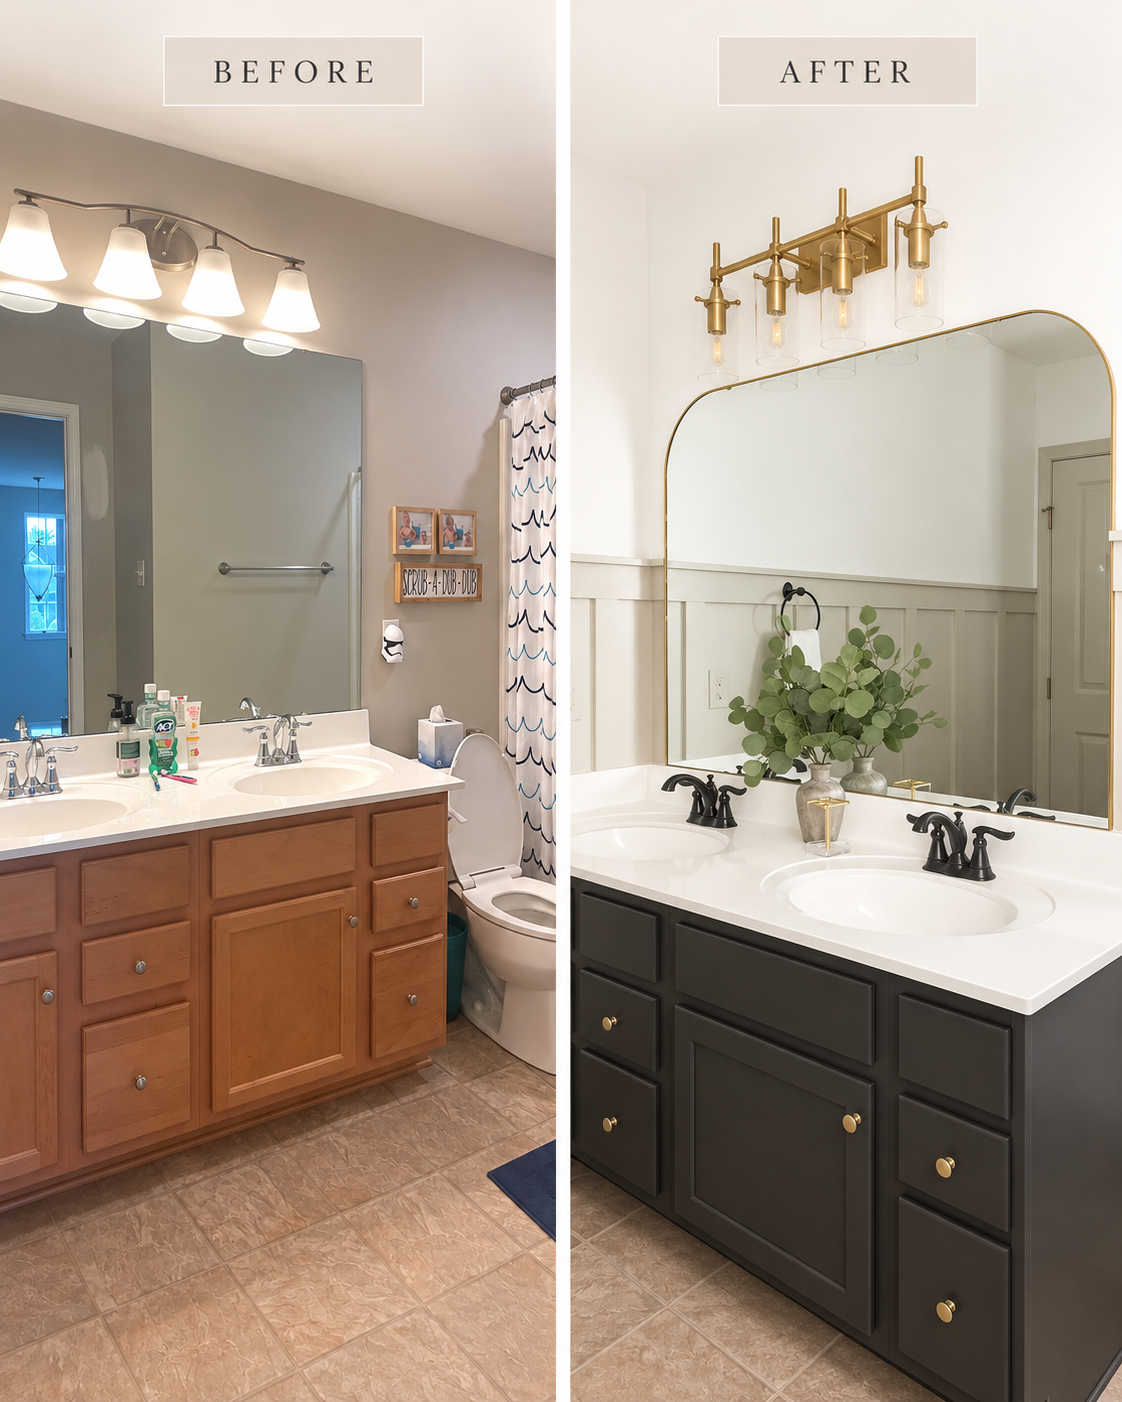
No expensive custom frame, no fancy woodworking tools, and I didn't even have to cut the glass myself.
If you've been wanting to upgrade a builder-grade bathroom mirror, this is such a fun way to get that high-end look without the high-end price.
What You'll Need to Make Your Own Arched Mirror
Before we get started, here are the materials I used for this project.
Mirror: I reused the existing mirror in our bathroom, but you can also purchase a basic frameless mirror from Home Depot or Lowe's.
Flexible PVC Trim — This is the secret to getting that thin, modern frame look without building an actual metal frame.
Rust-Oleum Gold Spray Paint — To give the trim a beautiful gold finish.
Gorilla Glue Clear Adhesive — For securing the decorative trim, if needed.
5-in-1 Painter's Tool — One of those tools I constantly reach for during DIY projects.
Rubber mallet or hammer
Dry-erase marker
Scissors
Mirror mounting hardware appropriate for your mirror
You'll also need a local glass shop to cut your mirror if you're starting with a rectangular one.
My favorite part of this project? The flexible PVC trim. It's what makes the mirror look like it has a custom gold frame, and it's surprisingly easy to work with.
Step 1: Remove Your Existing Bathroom Mirror
The first step was taking down the builder-grade mirror that was already hanging in our bathroom.
Why buy a new mirror when you can give the one you already own a completely different look?
Mine was held in place with mirror clips, so I used my 5-in-1 painter's tool to help with removal.
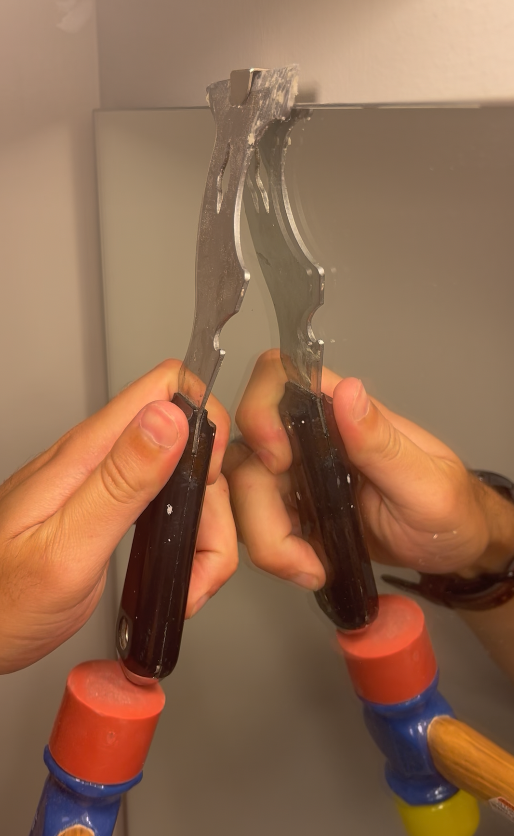
Make sure the mirror is supported while removing or releasing the clips, and have another person help if it's large or heavy. Glass is definitely not something you want to take chances with.
If your mirror is glued directly to the wall, removal is a different process and may be best left to a professional.
Once the mirror was safely off the wall, it was time to give it that beautiful arched shape.
Step 2: Turn a Rectangular Mirror Into an Arched Mirror
Okay, this might actually be my favorite part of the entire project because it was SO much easier than I expected.
I originally thought cutting a mirror into an arch would be complicated or expensive.
Turns out, neither was true!
I contacted a local glass and mirror shop, and they charged just $10 per cut.
Instead of attempting to cut the glass myself, I drew the shape I wanted directly onto the mirror using a dry-erase marker.
For my particular mirror, I wanted to remove approximately:
2 inches from each side
1 inch from the top
Enough glass from the upper corners to create a soft, rounded arch
And here's a little DIY trick: I used a large pot to help trace the curved shape!
Sometimes the most useful DIY tools are already sitting in your kitchen.
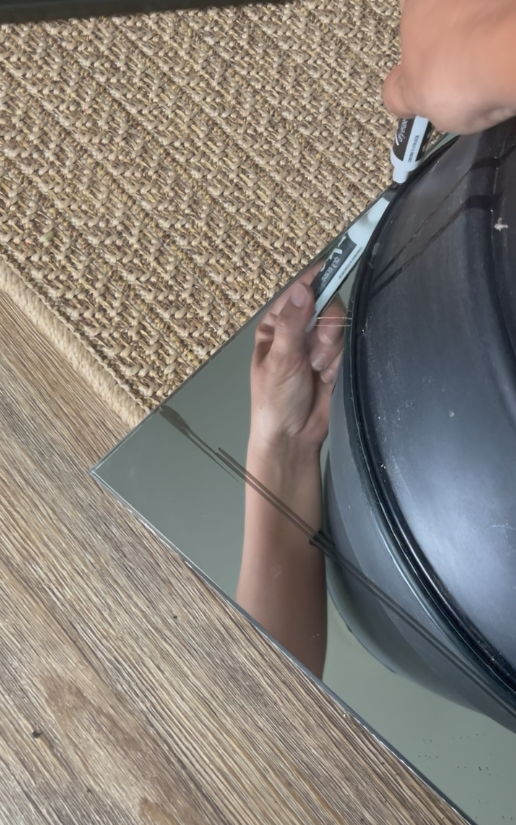
I brought the marked mirror to the glass shop, and they took care of the cutting.
My total was just $50 for all the cuts!
That price can vary depending on your location, mirror size, and the complexity of the shape, so definitely call a local glass shop before getting started. Also, make sure your mirror is suitable for cutting and ask the shop to finish the exposed edges safely.
At this point, I already had a completely different-looking mirror.
But we still needed that gorgeous gold frame!
Step 3: Make a DIY Gold Mirror Frame Using Flexible Trim
Here's where the mirror really started coming together.
I wanted that thin gold frame you see on designer mirrors, but I didn't want to spend a fortune having one custom-made.
My solution?
I found this flexible trim and it only came in white so I spray painted it the color I wanted.
Measure and Cut the Trim
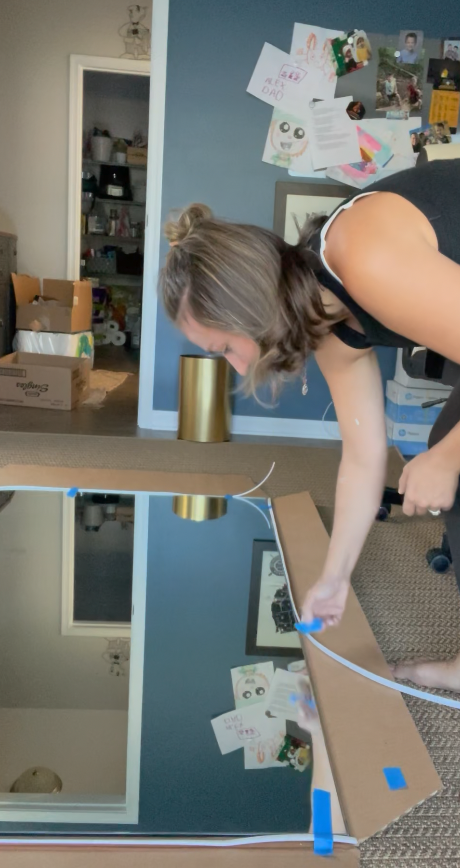
Before painting anything, I temporarily taped the trim along the outside edge of the mirror to figure out how much I needed.
Since the trim is flexible, it followed the curved top of the mirror surprisingly well.
And the best part? You can cut it with regular scissors!
I divided mine into two sections: one piece for the curved top and sides, and a second piece for the straight bottom.
Even though the trim wasn't technically one continuous piece, it looked seamless once everything was in place.
Spray Paint the Trim Gold
Next, I used Rust-Oleum Gold Spray Paint to transform the white PVC trim into a gold frame.
A few tips that helped me get a cleaner finish:
Spray in light, even coats rather than one heavy coat.
Make sure you cover the sides of the trim, not just the front.
Check that your spray paint is suitable for the type of plastic trim you're using, and follow its prep and drying instructions.
Let the paint cure before attaching the trim to the mirror.
After installation, I noticed a few tiny imperfections in the paint.
My little trick? I sprayed a bit of paint into a disposable container and used a small paintbrush to touch up those spots.
No need to repaint the entire thing!
Attach the Trim to the Mirror
Once everything was dry, I peeled off the adhesive backing and carefully pressed the trim into place around the mirror.
It was already looking SO good!
The adhesive backing helped position the trim, but I eventually added a little clear Gorilla Glue adhesive in areas that needed extra support.
Just be sure to choose an adhesive that's compatible with your specific trim and mirror materials, and keep it away from any exposed mirror backing.
One important thing to know: This decorative trim is not a structural frame. It's there to create the look of a gold frame, not to hold the mirror on the wall.
Which brings me to the one part of this project that wasn't quite as easy as I expected...
Step 4: Hang Your DIY Arched Mirror
I'm not exaggerating when I say I spent more time researching how to hang this mirror than I did on almost any other part of the project.
I had officially entered analysis paralysis. 😂
Because this mirror was going in my kids' bathroom, I wanted to feel confident it was installed securely.
There were two main installation methods I considered.
Option 1: Mirror Adhesive
One option is using a specially formulated mirror adhesive to secure the glass to the wall.
While this can be an appropriate installation method, it requires the correct adhesive, wall preparation, mirror compatibility, and installation procedure. Large mirrors may also need mechanical support.
I personally wasn't comfortable relying on an adhesive installation for this particular mirror.
Option 2: Mirror Clips
Ultimately, I decided to use mirror clips, which is how our original mirror had been installed.
This was the option I felt most comfortable with.
I spray painted the existing clips to help them blend in with the gold finish. I also had to remove and reinstall some of the decorative trim so the mirror would fit properly.
One little adjustment I made was leaving off the bottom section of trim because of how the mirror sat in the clips.
And guess what?
It still looked amazing!
The painted clips blended in nicely, and the finished mirror had exactly the clean, modern look I wanted.
If you use mirror clips, make sure the mounting hardware is rated for the mirror's size, thickness, and weight and properly secured to the wall. Existing clips aren't automatically suitable after a mirror has been altered.
The Final Reveal: My DIY West Elm-Inspired Mirror
I genuinely cannot believe how much this project changed the look of our bathroom.
What started as a basic rectangular mirror became a custom-looking arched mirror with a beautiful gold finish.
And I didn't have to spend $700 to get the look I wanted.
Here's what I love most about this project: you don't need to be an expert woodworker, own a ton of tools, or build an actual metal frame.
The trick is finding materials that create the look you're going for without making the project unnecessarily complicated.
That's exactly what the flexible trim did!
How Much Did This DIY Mirror Cost?
Here's the breakdown for my particular project:
Item Cost
Existing bathroom mirror: $0
Professional glass cutting: $50
Flexible PVC trim, spray paint, and additional materials: Less than $50
Total project cost: Under $100
Keep in mind, I already owned my mirror and some of the tools. Your total may be different depending on the size of your mirror, local glass cutting prices, and what supplies you already have.
But compared to purchasing a designer-inspired mirror at full retail price? The savings can be pretty significant.
Would I Make This DIY Mirror Again?
Absolutely!
There were a few little hiccups with the installation, but overall, this was one of those projects that made a huge difference without requiring a huge budget.
And if you've been staring at a basic bathroom mirror wishing it looked a little more custom, this might be the project for you.
Ready to try it yourself? Start with the flexible PVC trim I used and see what kind of transformation you can create!
I'd love to know: would you try making your own arched mirror, or would you rather buy one already finished?
This post contains affiliate links. As an Amazon Associate, I earn from qualifying purchases. I may also earn commissions from other affiliate links at no additional cost to you. All opinions are my own.
UPDATE
I recently repainted the cabinetry in this bathroom so I thought I would update you on the mirror. The trim has stayed attached and still looks just as good as when I first did it! Highly recommend doing this DIY!