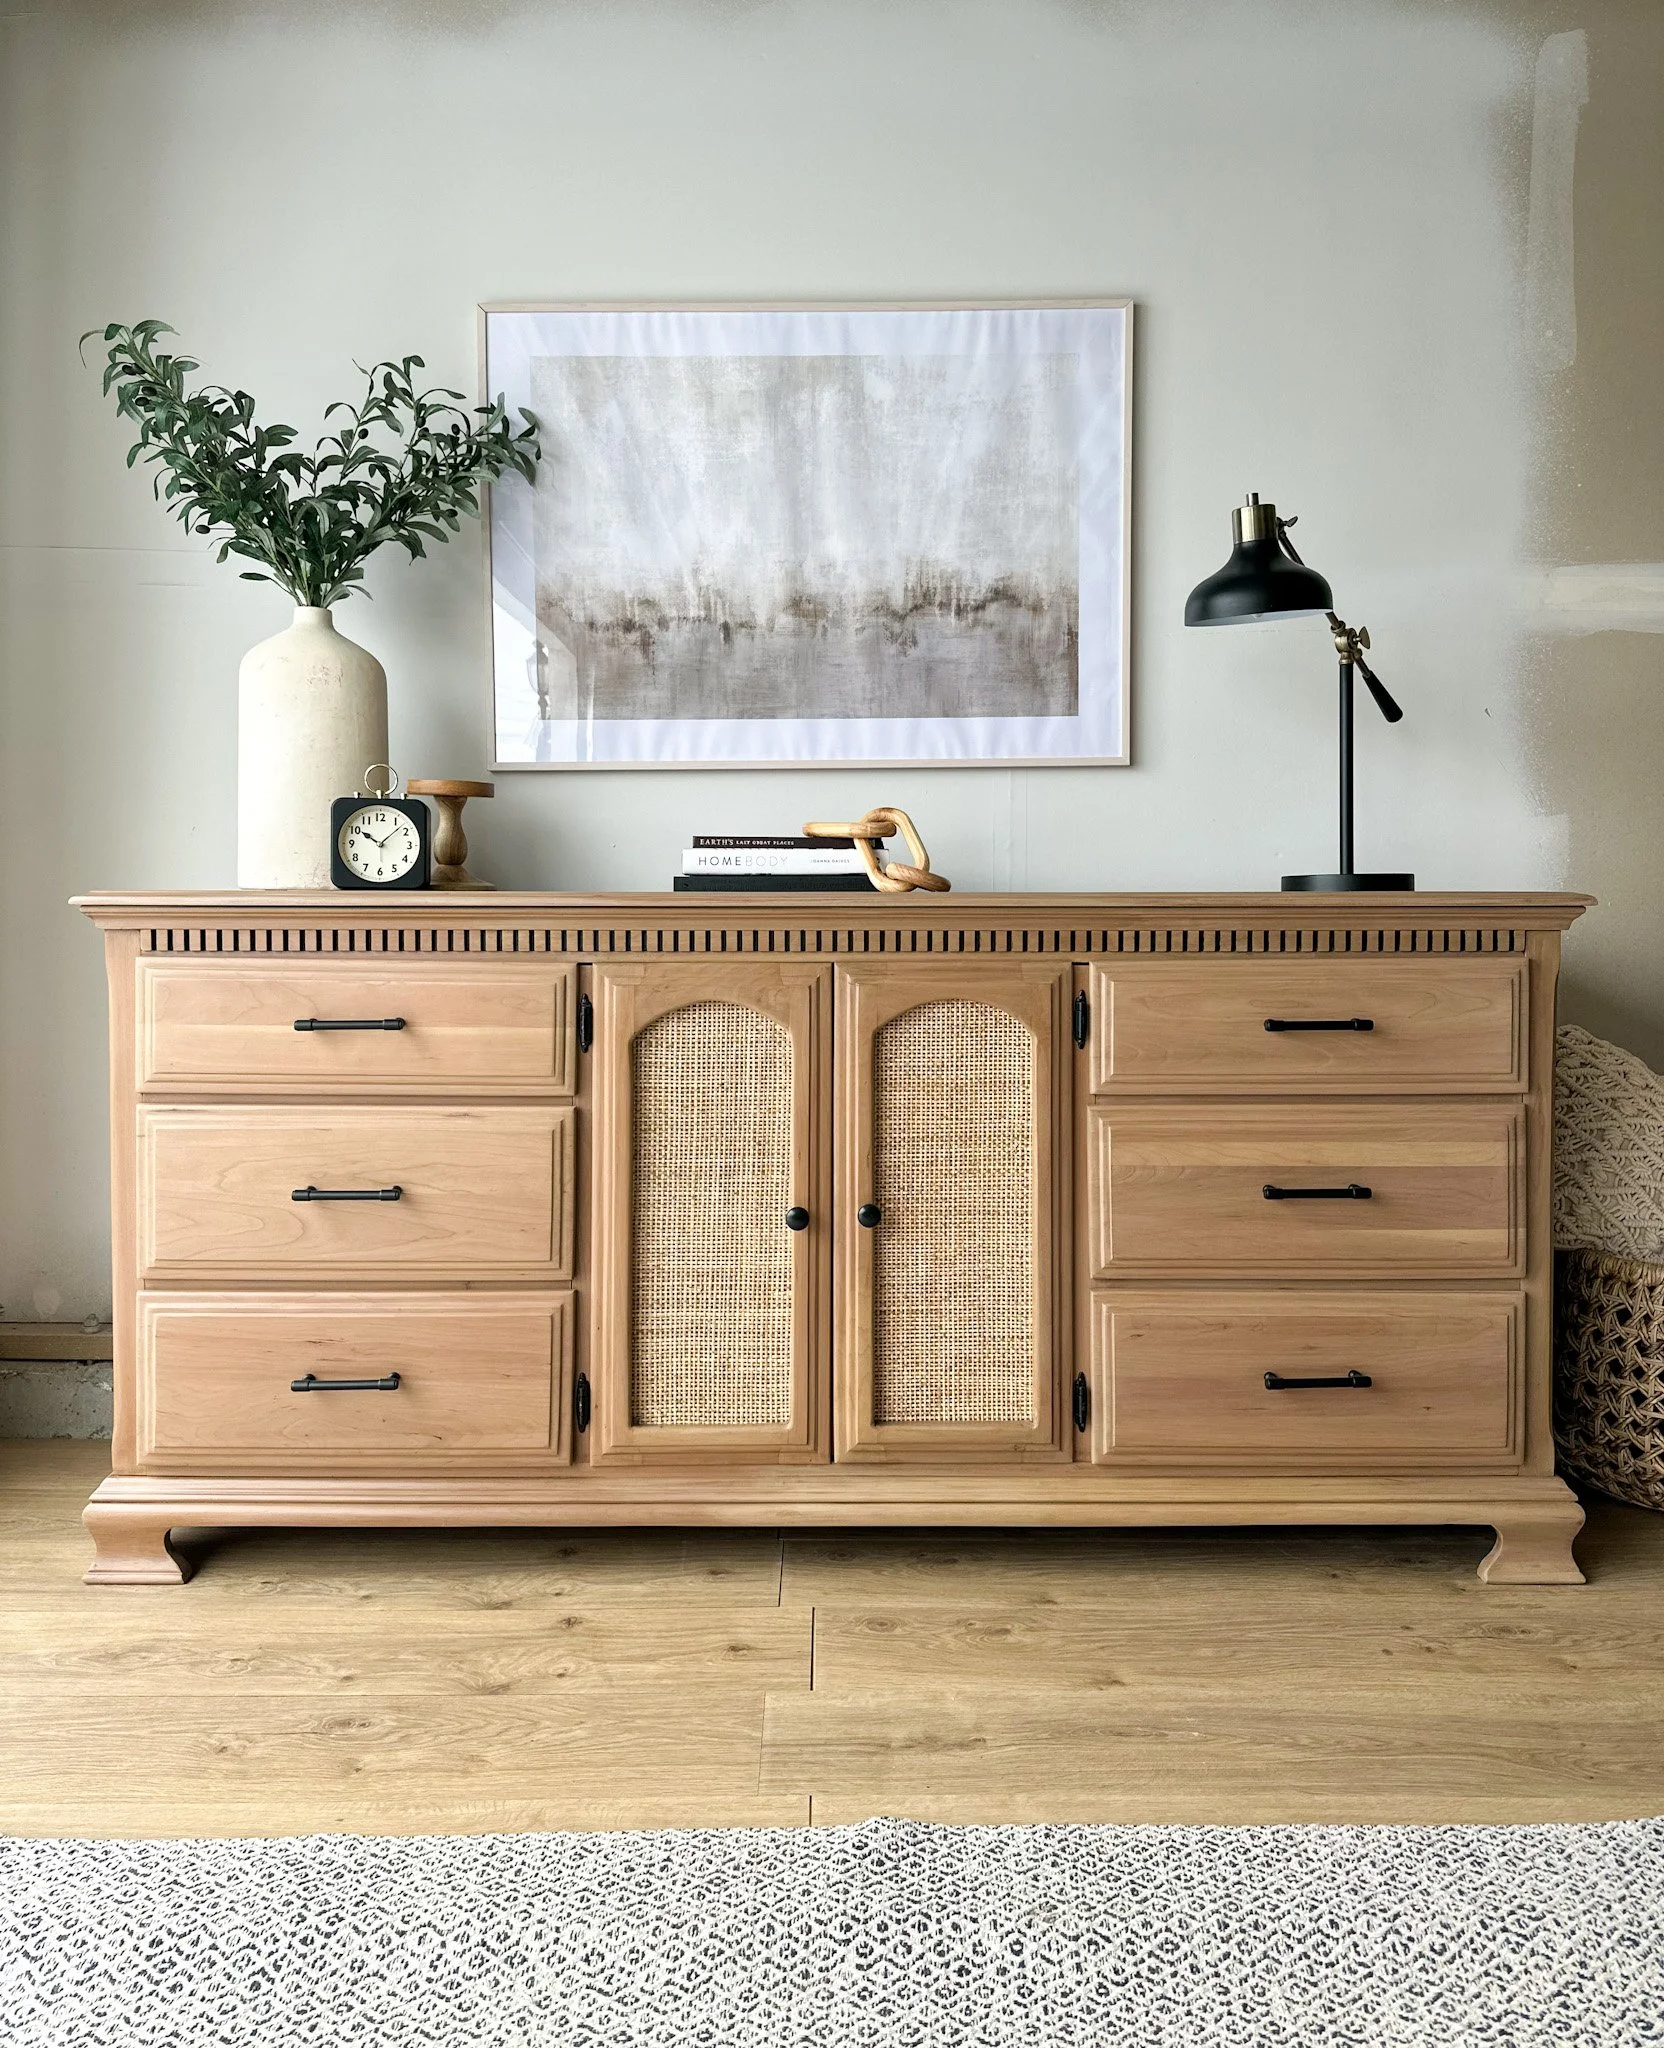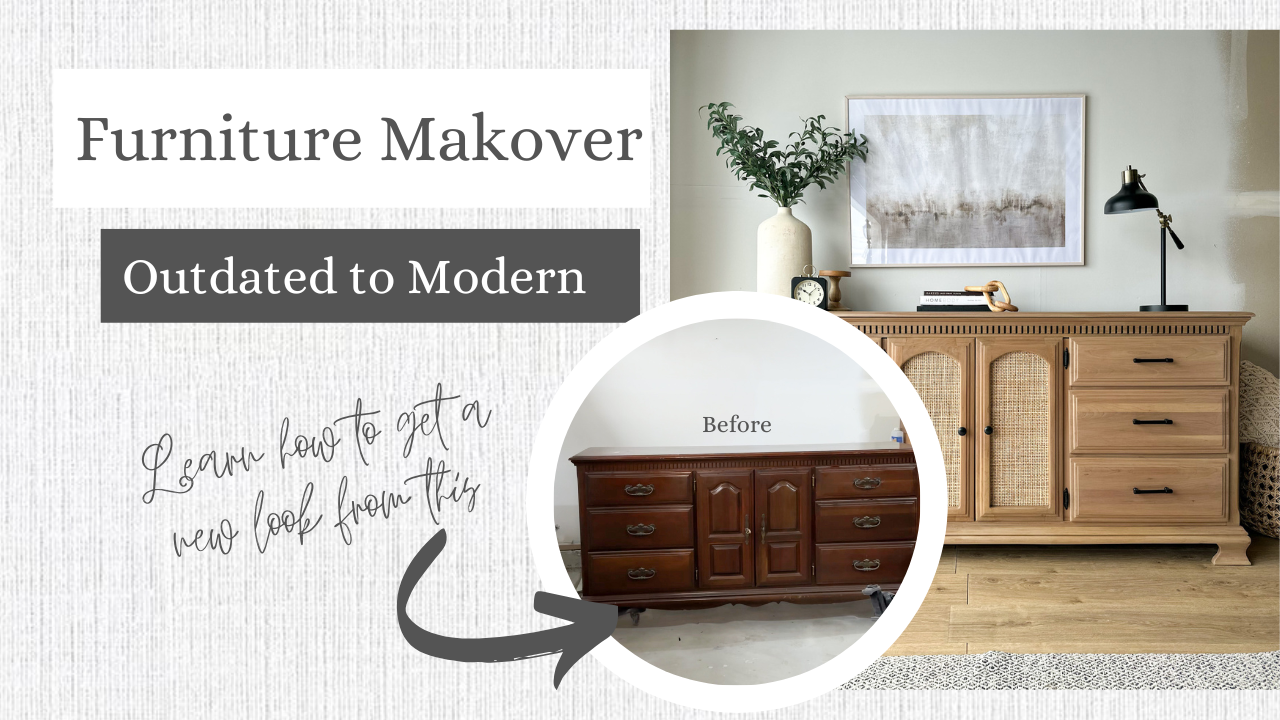
You know those outdated dressers you see at thrift stores or on Facebook Marketplace? The ones with the super ornate cabinet doors that practically scream, "Even if you paint me, I'm STILL going to look old!" 😂
Yeah, those.
I usually walk right past them.
Don't get me wrong. I love old furniture. But my favorite part of refinishing furniture is taking something that feels completely outdated and transforming it into a piece you'd actually want to buy at a high-end furniture store.
And sometimes, no amount of paint is going to change the overall style of a piece.
But when I spotted this dresser, I immediately had an idea.
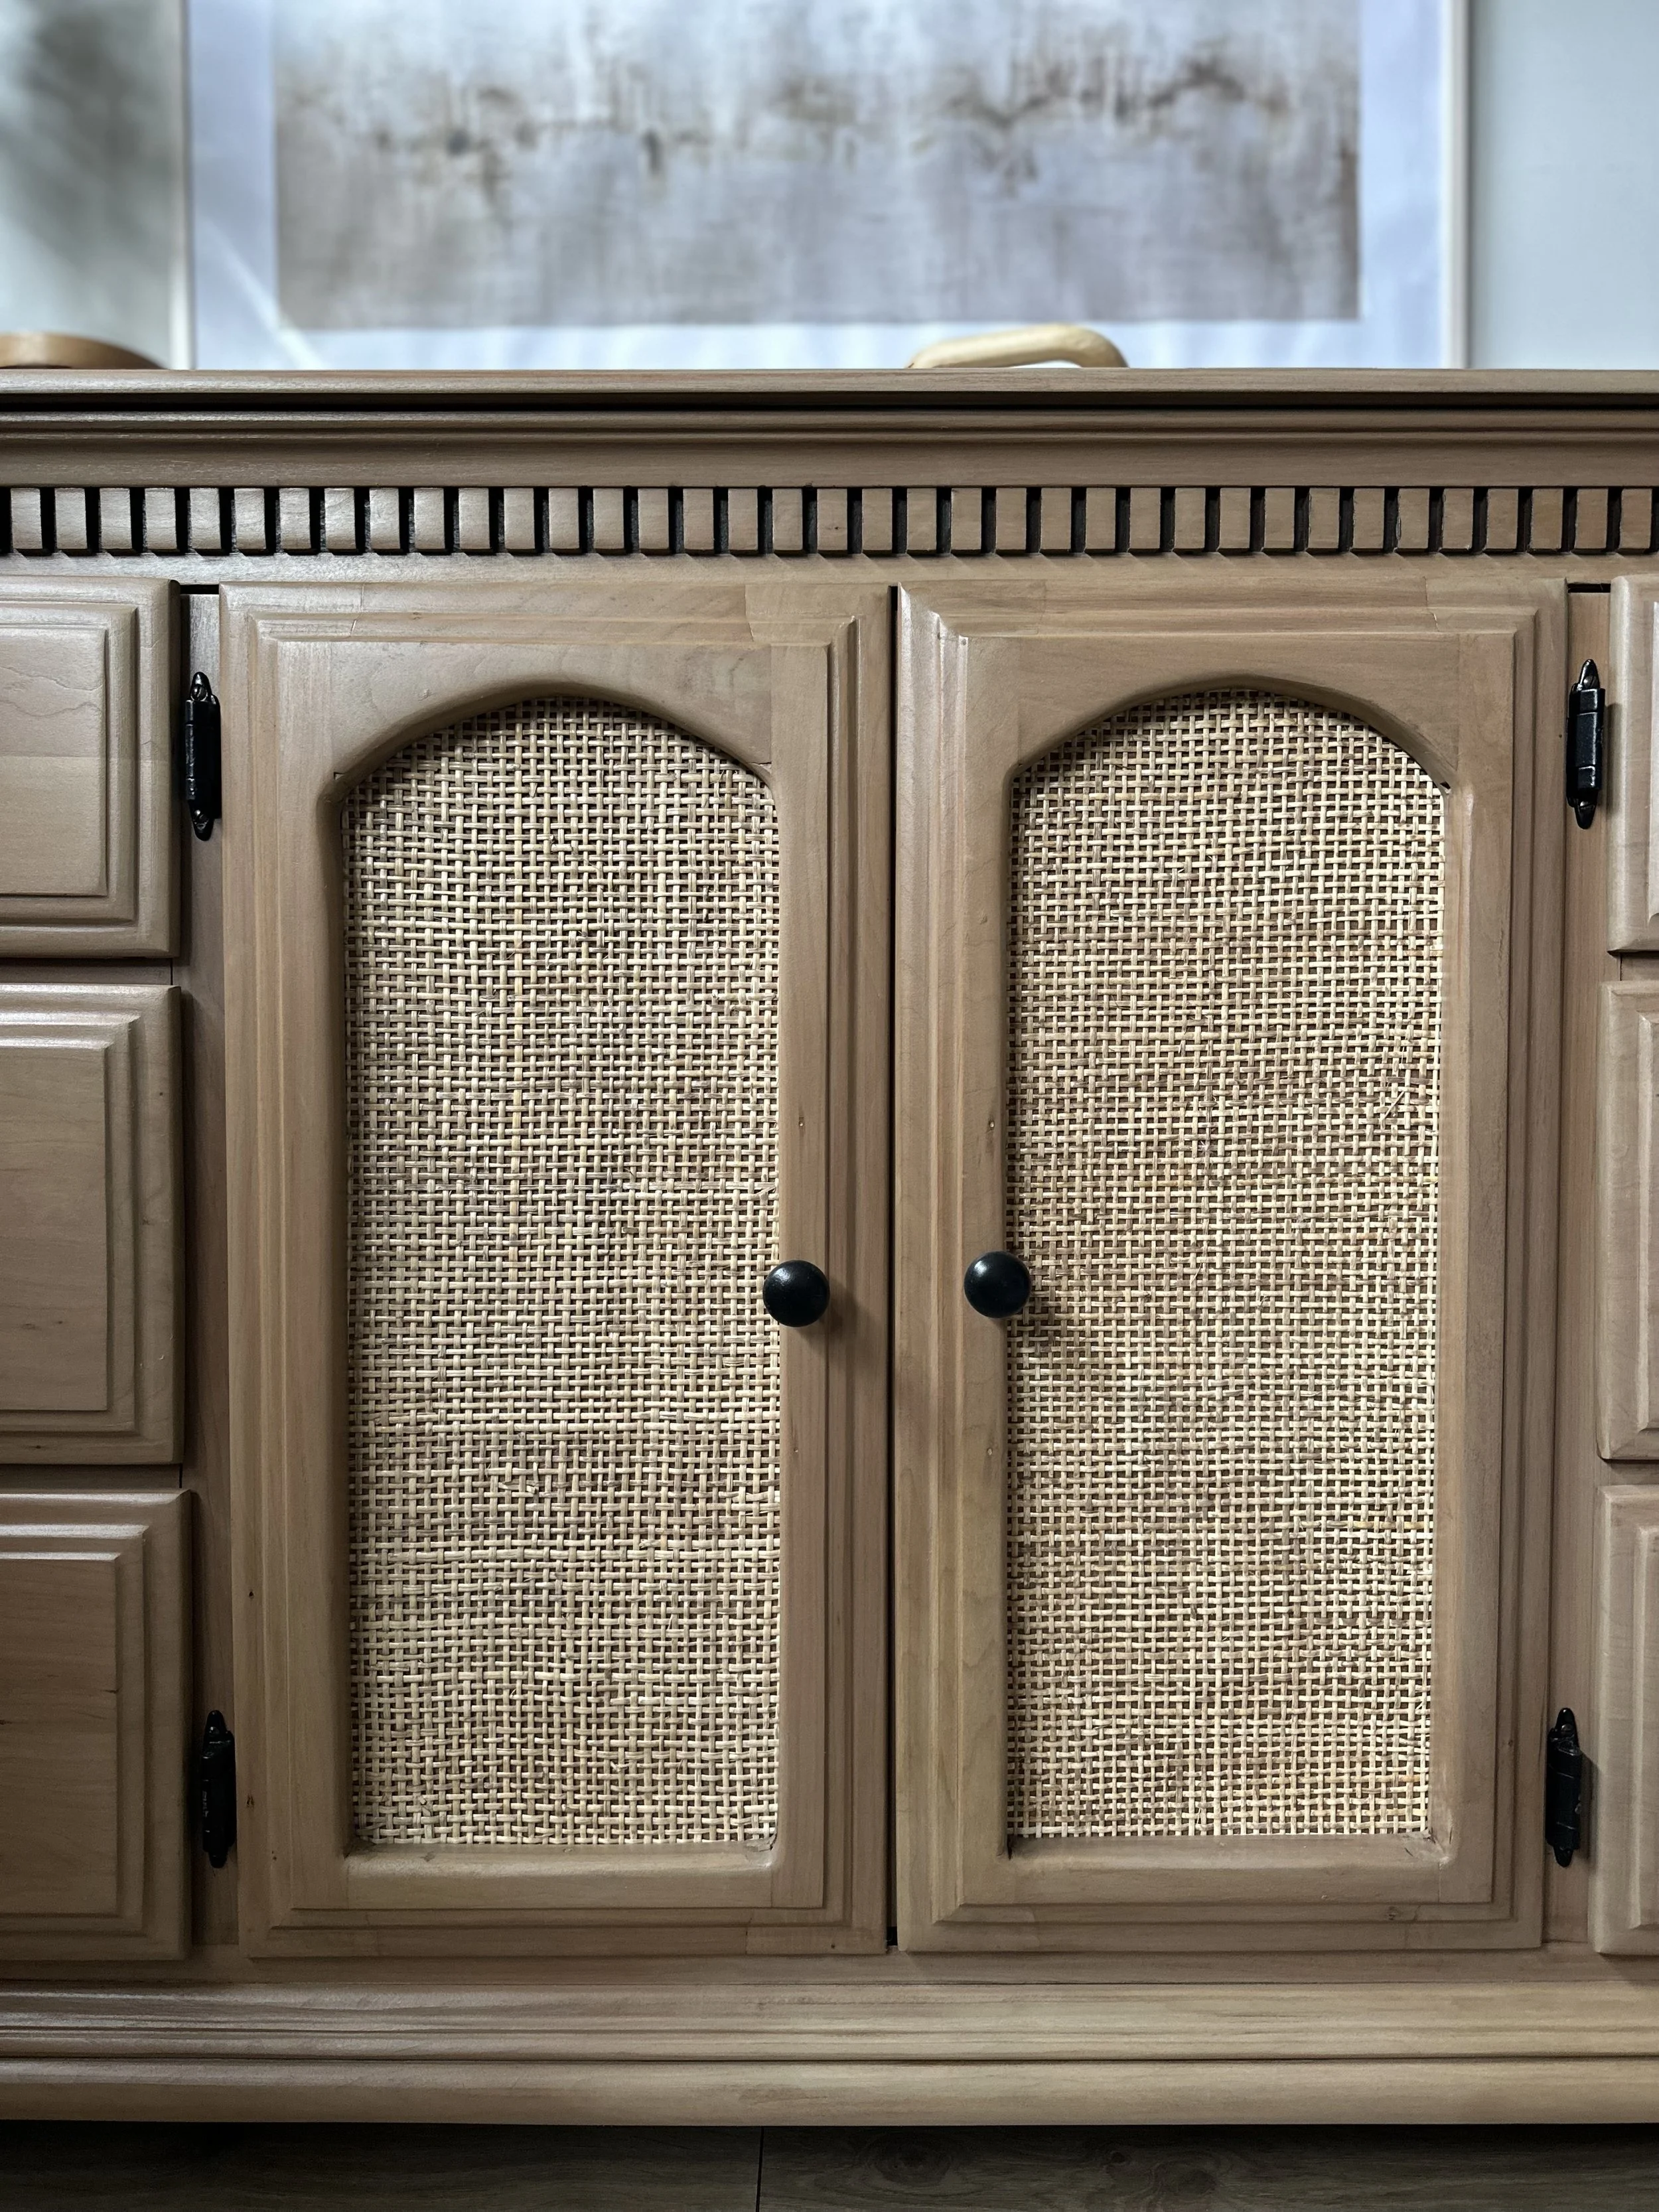
What if I completely changed the shape of the cabinet doors and turned them into arches?
Suddenly, those outdated doors didn't seem like such a dealbreaker anymore.
And what started as a simple furniture flip turned into one of my favorite dresser makeovers I've ever done.
From Outdated Dresser to Modern Arched Cabinet
My original plan was pretty simple: paint the dresser, change the doors, add some new hardware, and call it a day.
But then I tried to pick it up.
You guys. This thing was HEAVY.
I'm talking one of the heaviest dressers I've ever lifted. And I've moved my fair share of furniture over the years.
That got me wondering what was hiding underneath the dark, dated finish.
I suspected there might be some beautiful wood worth saving, and I really wanted to find out before covering everything with paint.
So naturally, my relatively simple furniture makeover turned into a much bigger project.
Because apparently, I can't just leave well enough alone. 😂
Step 1: Remove the Old Finish
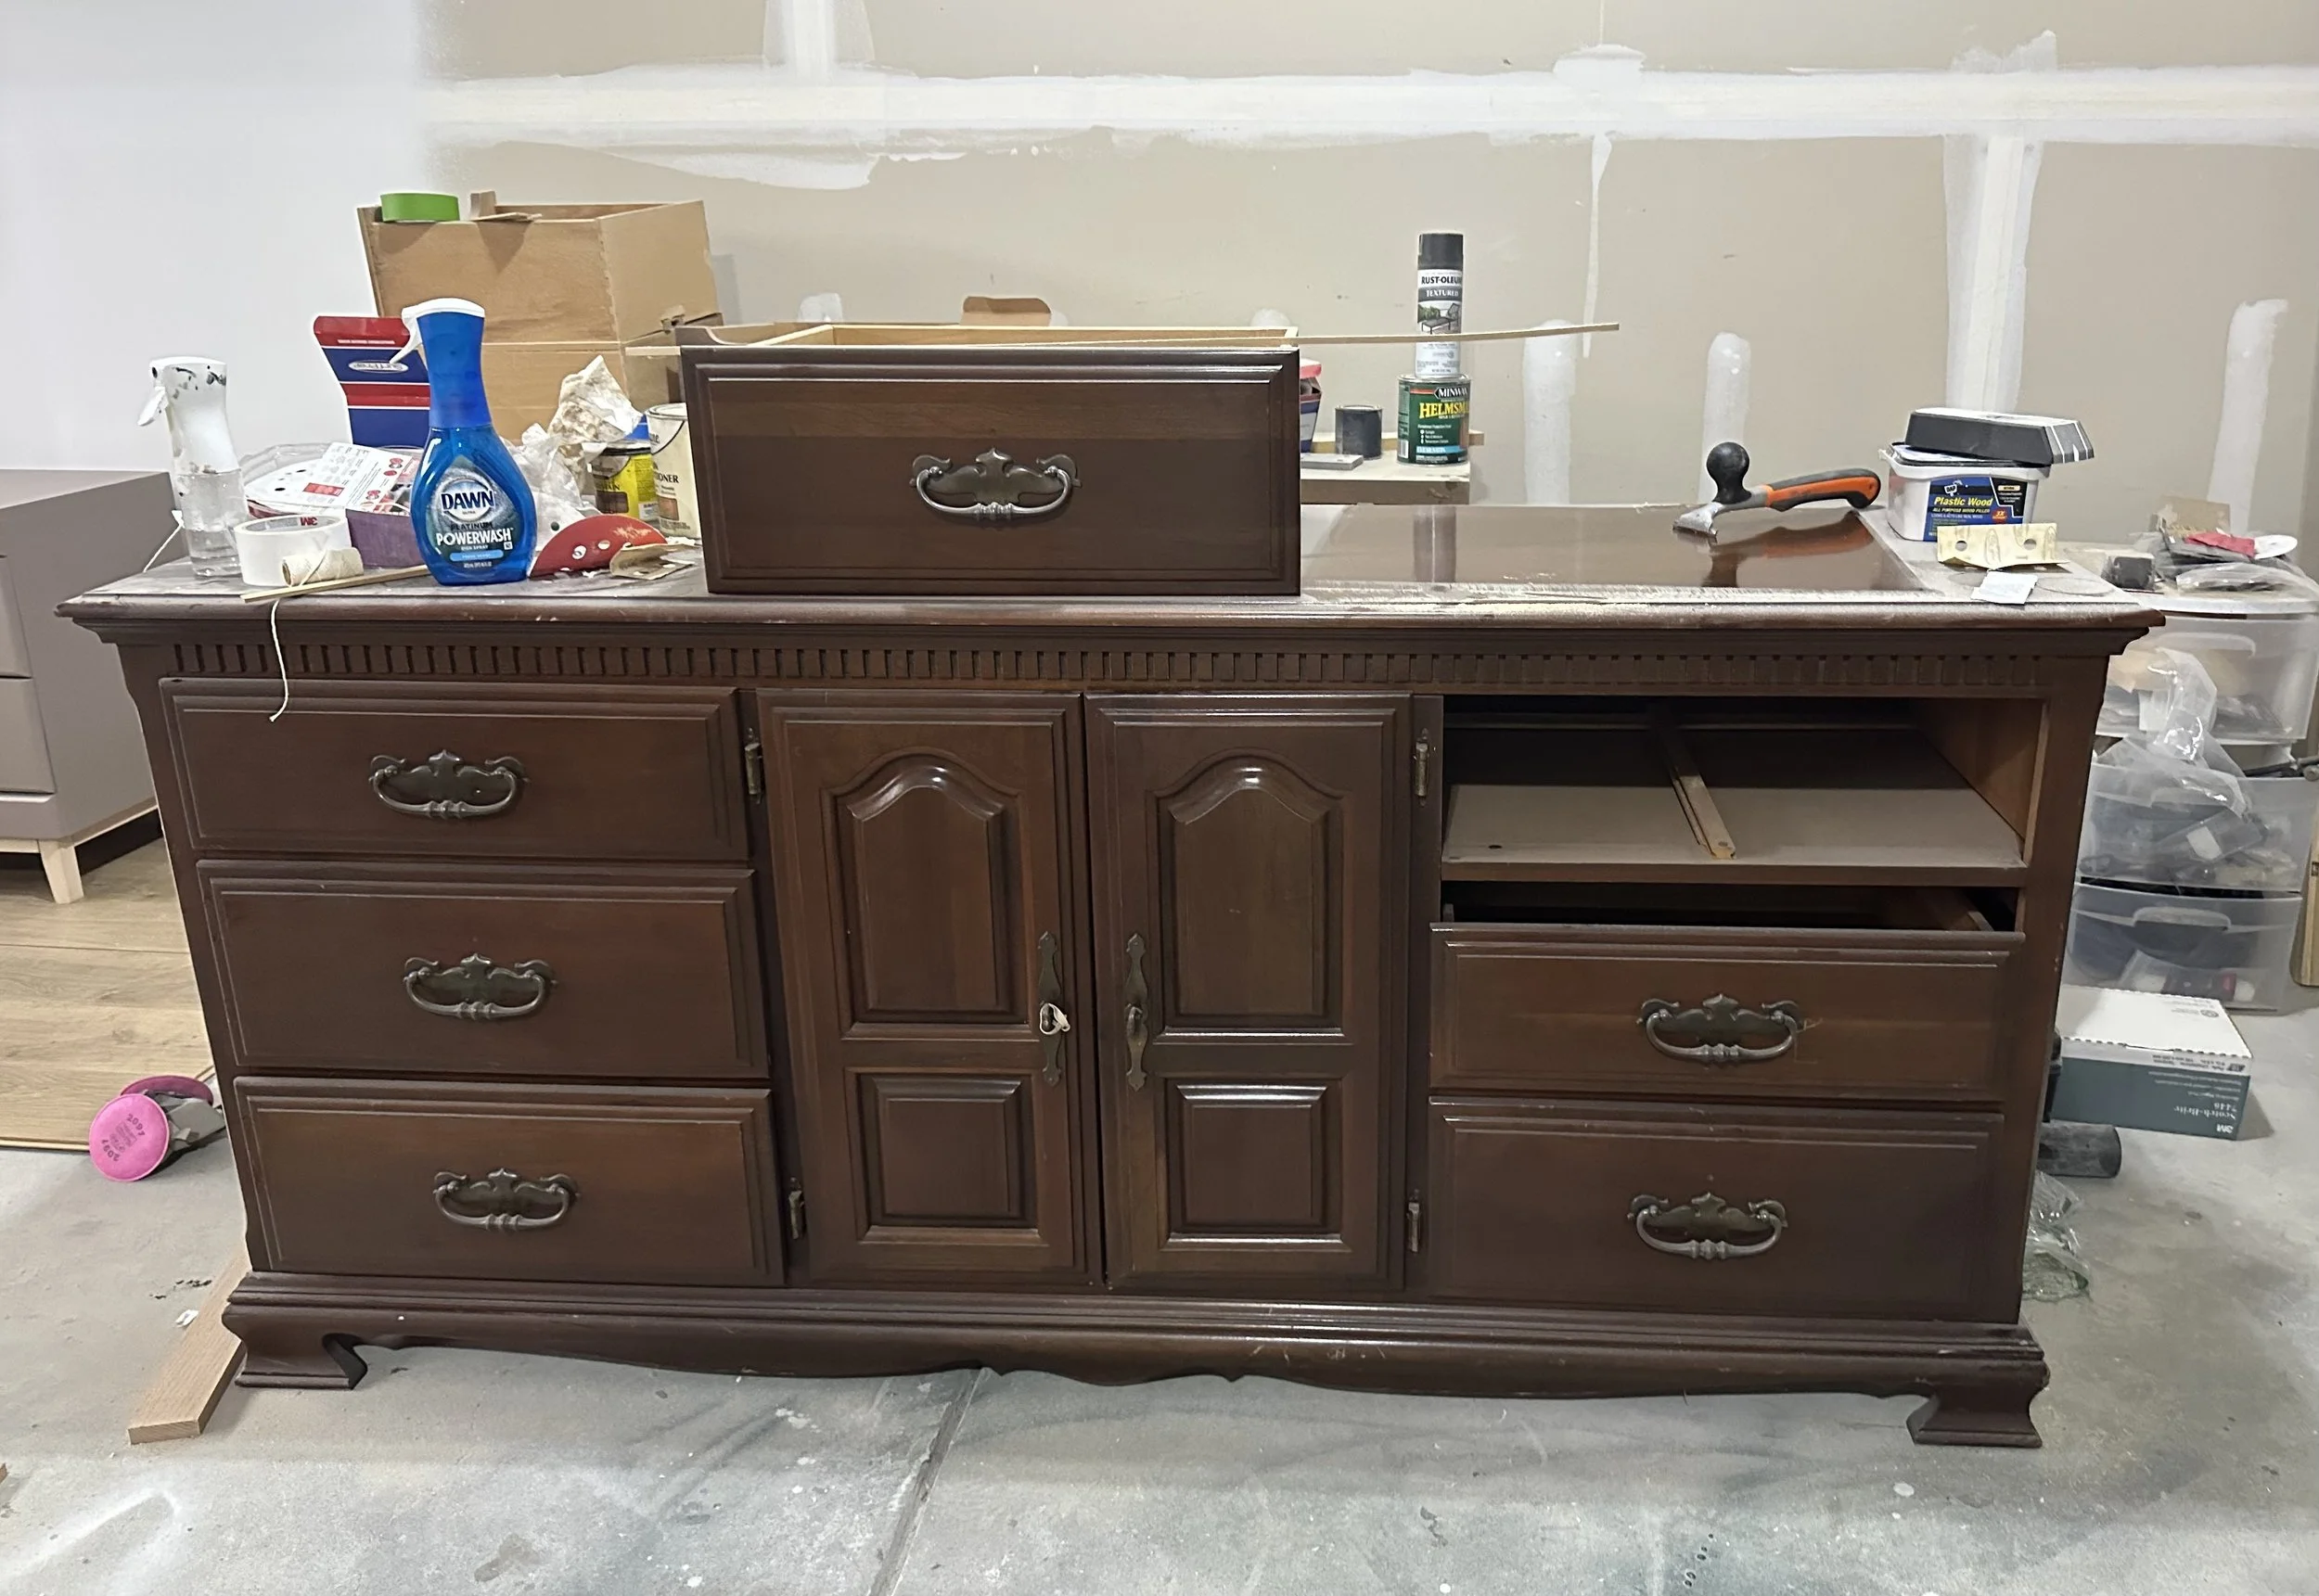
The first thing I wanted to do was get rid of that dark, outdated finish and see what the wood underneath actually looked like.
I started with my carbide scraper, which is one of my favorite tools for removing old finishes from furniture.
But this time? The finish was NOT cooperating.
It was thick, stubborn, and barely coming off.
So I decided to switch gears and grab my orbital sander.
And that's when things finally started moving!
What Sandpaper Grit Should You Use to Refinish Furniture?
For the top of the dresser, I worked my way through the following sandpaper grits:
80 grit: To remove the thick, old finish.
120 grit: To smooth out the scratches left by the coarser sandpaper.
180 grit: To continue refining the surface.
220 grit: For a smoother final finish.
For the rest of the dresser, I used 80, 120, and 180 grit.
Did I skip 220 grit on the body?
Yes.
Why?
Because after sanding what felt like an entire forest's worth of wood, I was DONE sanding. 😂
Sometimes you have to know when to call it.
One thing to remember: your sandpaper progression will depend on the wood, finish, and condition of your furniture. If you're working with veneer, you need to be especially careful because aggressive sanding can damage the thin wood layer.
Also, don't assume that a heavy dresser is solid wood. Furniture can contain a combination of solid wood, veneer, plywood, and other materials.
Step 2: Should You Sand or Strip Furniture?
This is one of the questions I get asked most often when refinishing furniture.
Why do I usually sand instead of using a chemical stripper?
And my answer is pretty simple.
I cannot stand the mess of chemical stripping.
The goo, the scraping, the cleanup...it's just not my favorite thing.
So whenever it makes sense for the project, I prefer sanding.
But there are definitely situations where chemical stripping can be the better choice.
When to Use a Chemical Stripper
1. When you're working with wood veneer
Veneer is a thin layer of real wood applied over another material.
Because that wood layer is so thin, aggressive sanding can quickly damage it or sand right through it.
A compatible chemical stripper may help remove the existing finish without removing as much wood.
You still need to test the product first and follow its directions carefully because some strippers can damage adhesives or other materials.
2. When your furniture has intricate details
You know those tiny grooves, carved details, and decorative moldings that are practically impossible to sand?
That's where chemical stripping can be helpful.
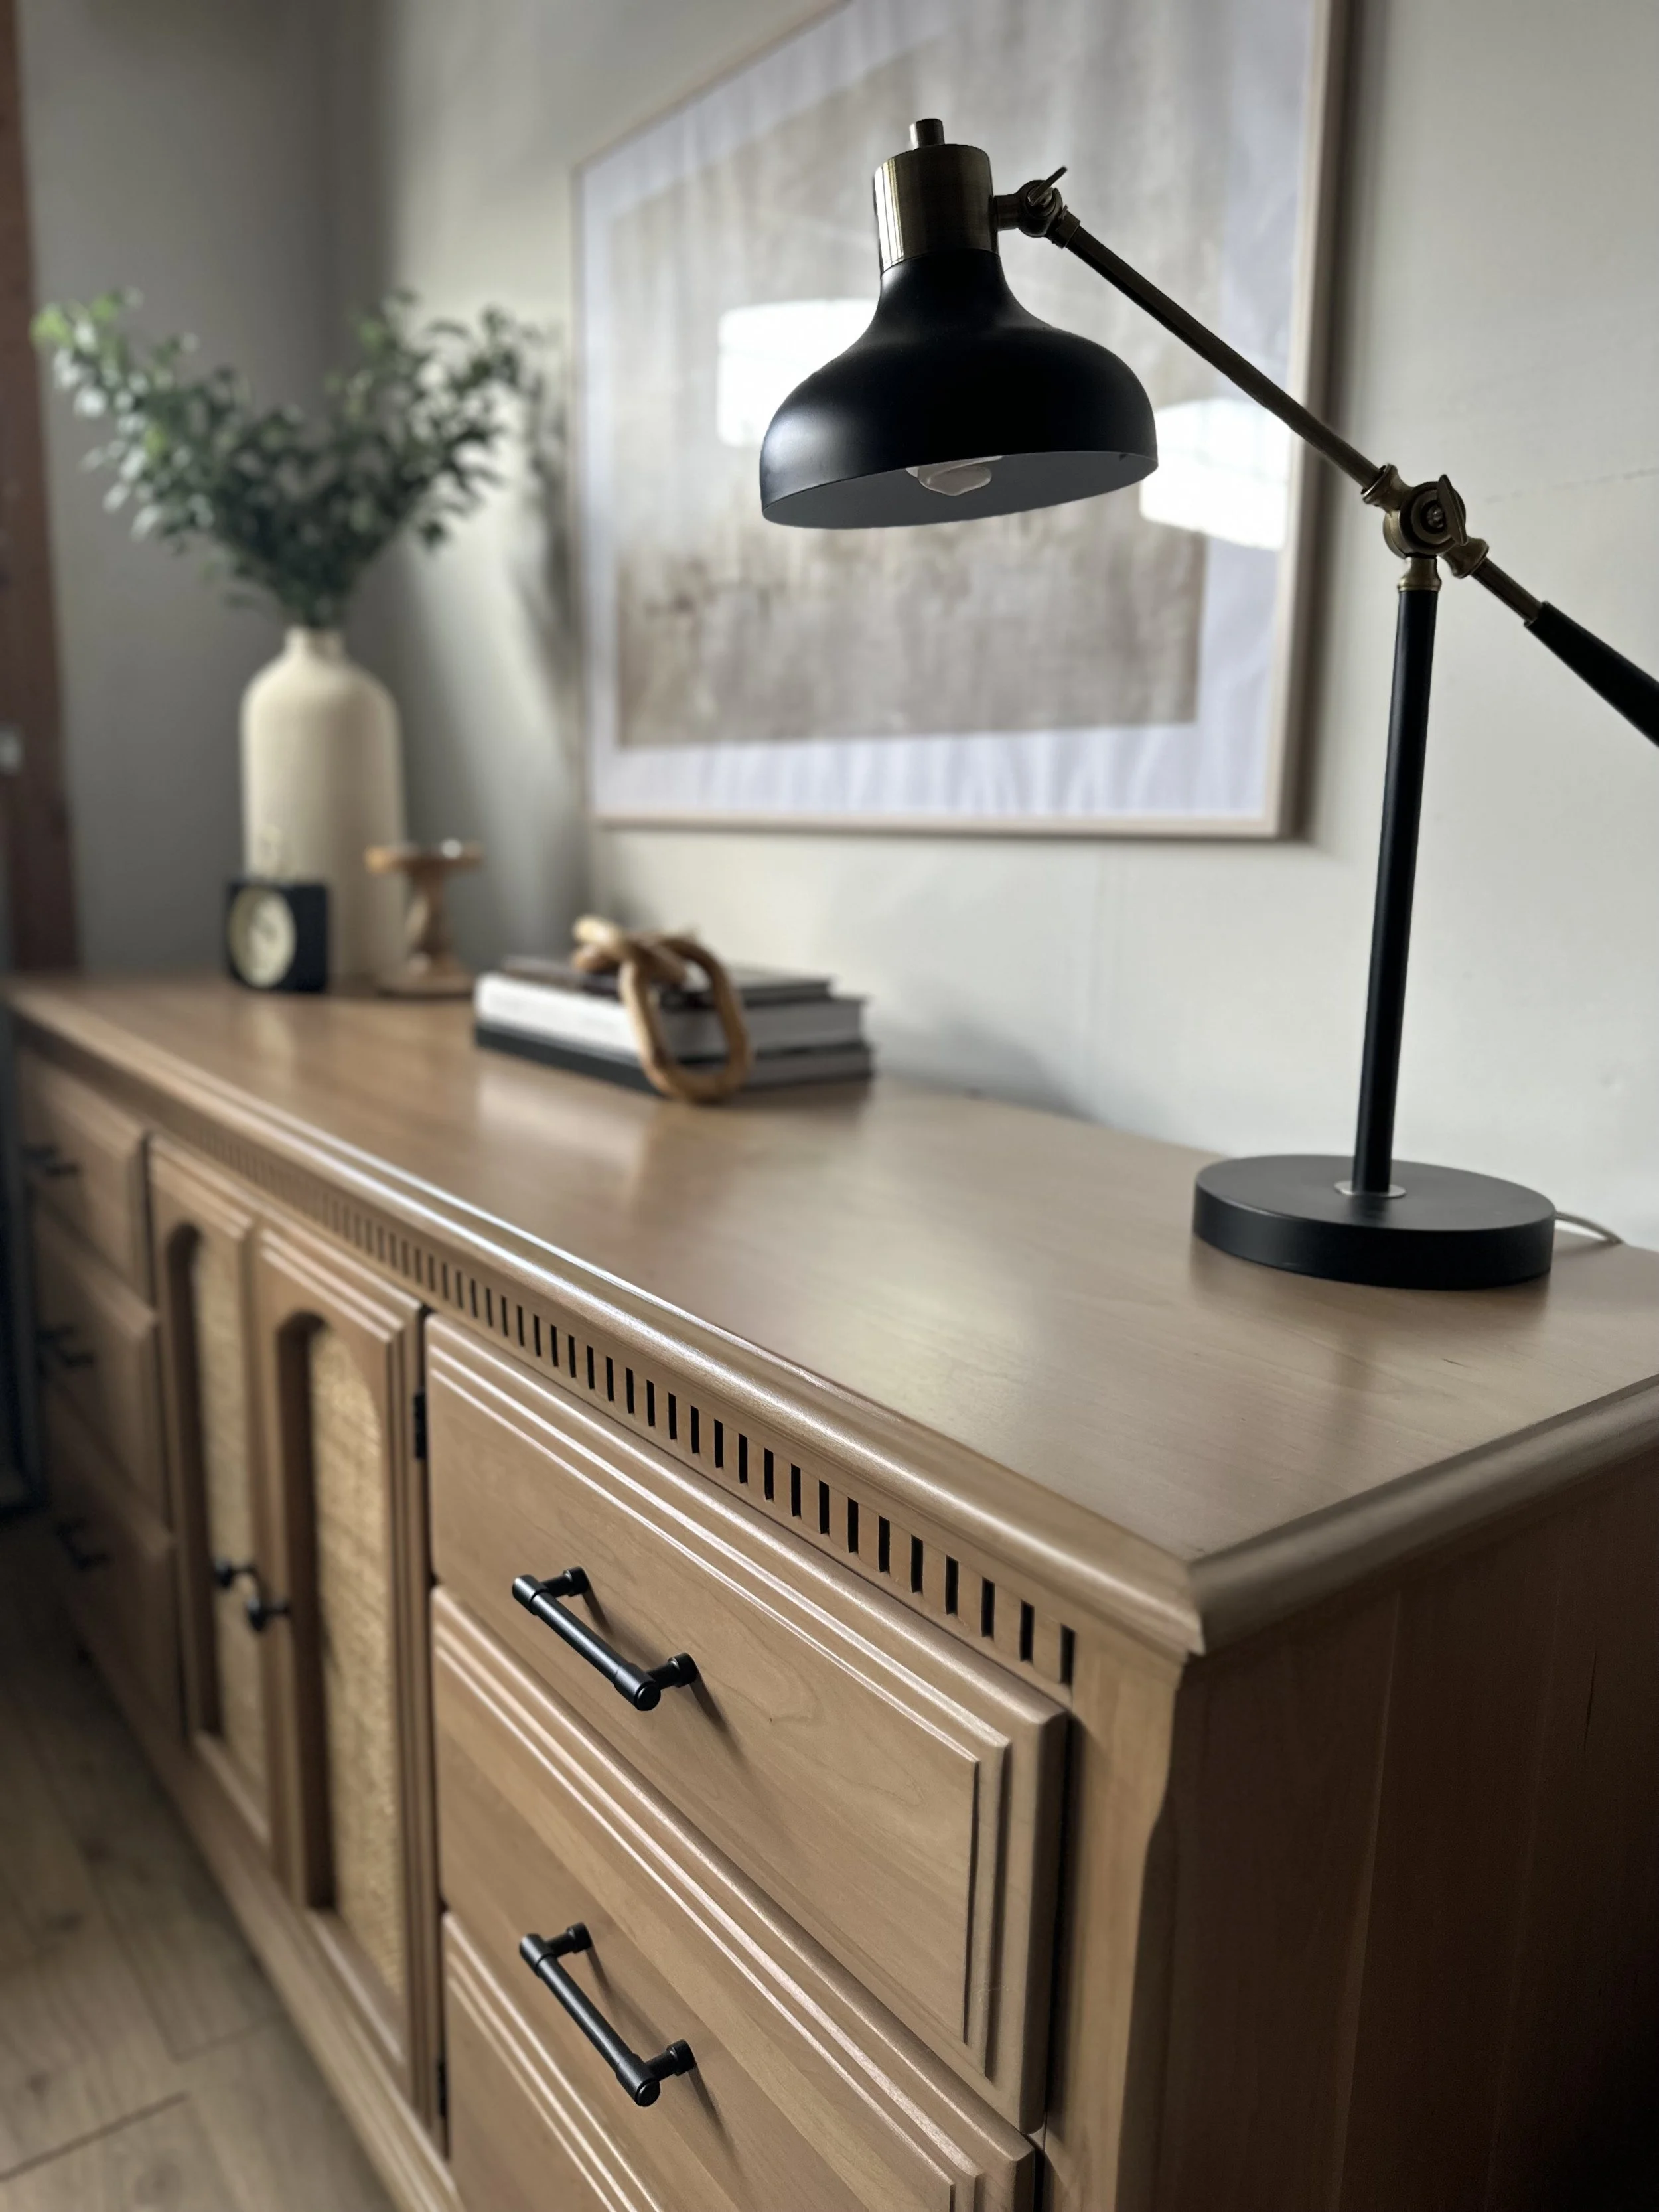
For example, this dresser had beautiful dentil molding across the front.
And looking back, a stripper probably would have made removing the finish from those little details much easier.
But I actually decided to leave some of the original dark stain in the grooves.
Why?
Because I knew I wanted to use black hardware, and I liked how the darker details tied everything together.
Sometimes what starts as a shortcut ends up becoming a design decision!
When to Sand Furniture
I generally prefer sanding when I'm working with a suitable solid-wood surface and the existing finish can be removed without damaging the piece.
With a good orbital sander and the right sandpaper, you can make pretty quick progress.
Just remember to use proper dust extraction, eye protection, and respiratory protection.
And if you're working with older furniture, check for lead-containing coatings before sanding or scraping. Don't disturb an unknown old finish until you know how to handle it safely.
Step 3: Transform the Outdated Cabinet Doors Into Arches
Now for the part that made me want to tackle this dresser in the first place.
The arched cabinet doors!
I love how arches can instantly soften a piece of furniture and make it feel more modern.
The original doors had ornate detailing that made the dresser feel dated, and I knew that simply painting them wouldn't give me the look I wanted.
Instead, I decided to completely rethink the design.
The goal was to replace that heavy, traditional look with something cleaner, softer, and more modern.
For this project, I used woodworking tools and materials, including plywood, a jigsaw, a router, and cane webbing, to create the new design.
The arched shape became the focal point, while the cane added texture and gave the dresser a completely different personality.
And let me tell you, that combination made SUCH a difference.
Tools and Materials for the Arched Door Makeover
Here are some of the items I used:
Plywood
Wood Clamps
I show the door transformation in more detail in the full makeover video below.
If you're planning to recreate arched doors yourself, measure your cabinet openings, account for hinges and clearances, and make sure your new door design is properly supported.
Step 4: Bring Out the Natural Wood Finish
One of my favorite things about refinishing furniture is discovering what the wood looks like underneath years of old stain and finish.
Sometimes it's disappointing.
And other times, it's exactly why you keep doing furniture makeovers.
For this dresser, I really wanted the natural wood to become part of the finished design instead of covering everything with paint.
After removing the original finish and preparing the surface, I used finishing products to bring out the wood's character.
The natural finish helped balance the cane detailing and the updated hardware, giving the entire piece a much more modern look.
And I love that you can still see the character of the original furniture.
It's not about making an old dresser look brand-new.
It's about finding a way to make the existing piece beautiful again.
Step 5: Add the Finishing Details
Once the major transformation was complete, it was time for all those little details that make a furniture makeover feel finished.
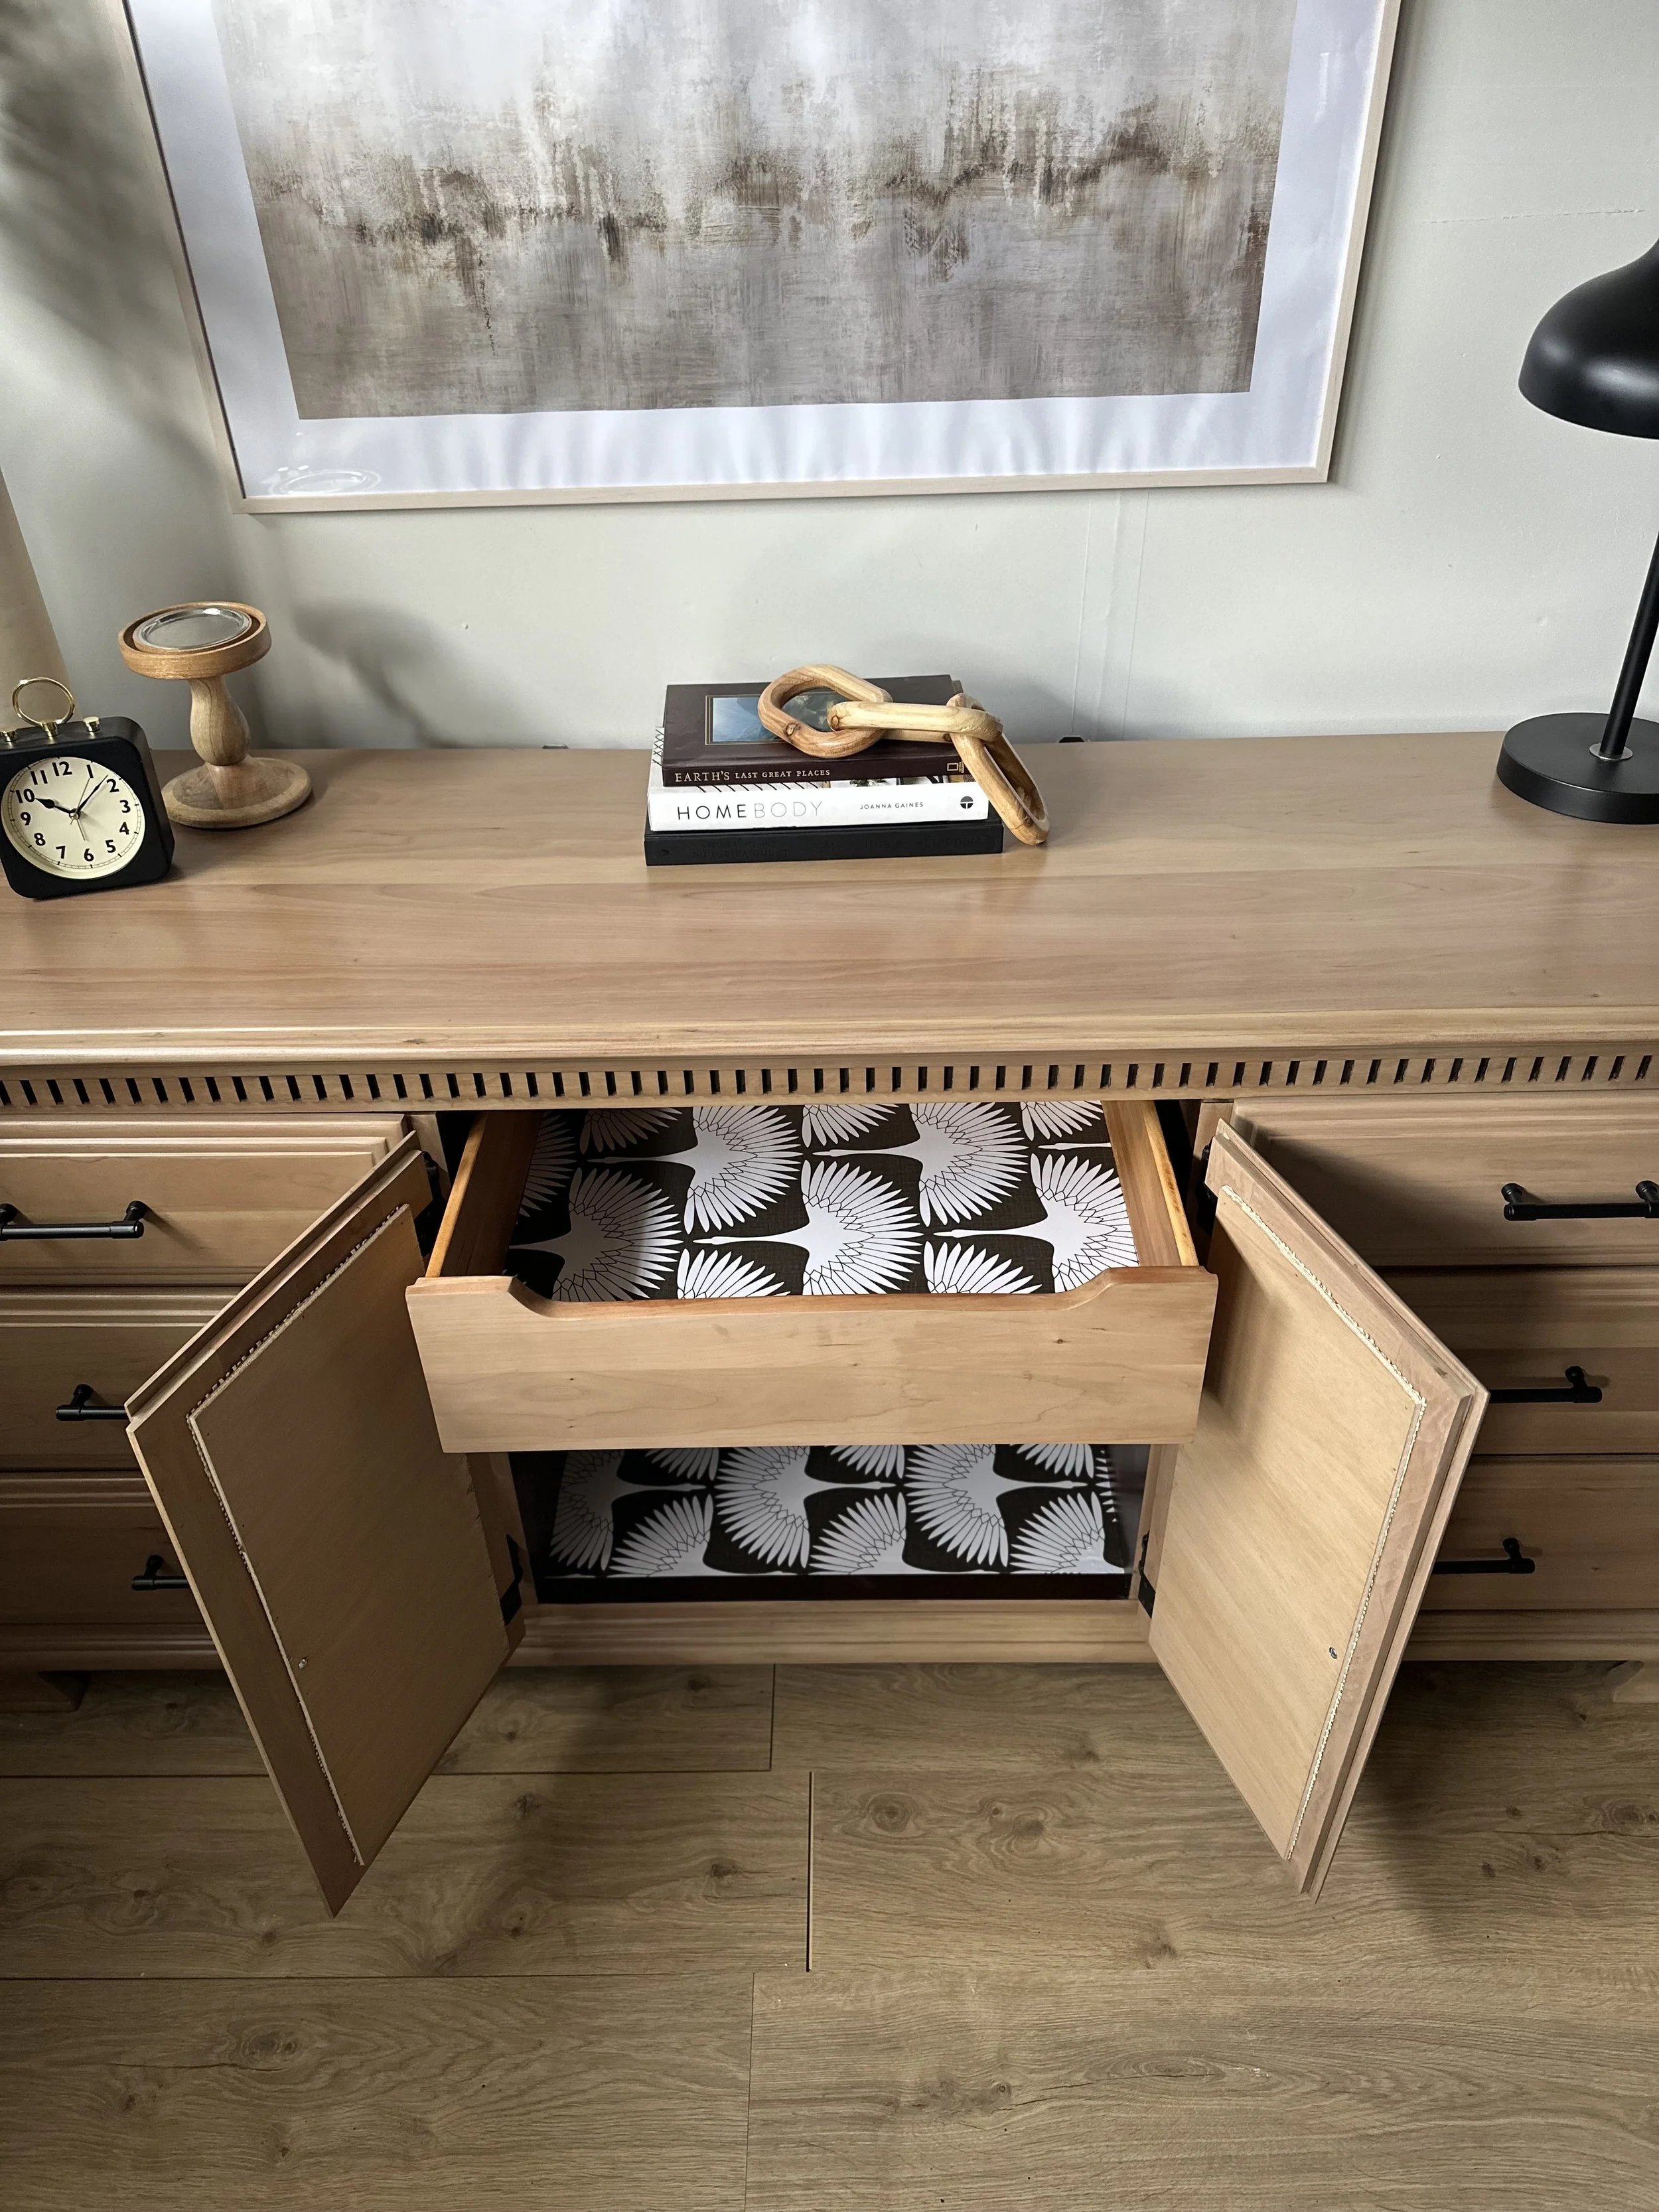
For this project, that included things like the new hardware, the interior details, and the final protective finish.
I chose dark hardware because I loved the contrast against the lighter wood.
Remember how I left some of the original dark stain in the dentil molding?
This is where that decision really paid off.
The darker details helped tie the entire design together without making it feel too busy.
I also used peel-and-stick paper as part of the makeover to give the interior a little extra personality.
Sometimes those finishing touches are what take a project from looking like a DIY furniture flip to looking like a custom piece.
Shop the Tools and Materials Used
I used quite a few tools and supplies for this project, so I've organized everything by category to make it easier to find what you need.
And no, you absolutely don't need to purchase every single item on this list to refinish furniture!
These are simply the products and tools I used throughout this particular makeover.
Furniture dolly - https://urlgeni.us/amzn/Ye0O2
Drill - https://urlgeni.us/amzn/33DUB
Wood glue - https://urlgeni.us/amzn/4RIzL
Wood clamps - https://urlgeni.us/amzn/BPJvS
Krud Kutter - https://urlgeni.us/amzn/_SXU6
Lint free cloths - https://rstyle.me/cz-n/hgn7erdzd2p
Carbide scraper - https://urlgeni.us/amzn/V7X4Z
Orbital Sander - https://urlgeni.us/amzn/hlN8l
Surf Prep 3x4 Electric Ray Sander | Save 10% by using code ADASH10 at https://surfprepsanding.com/product/s...
Sandpaper - https://urlgeni.us/amzn/sMCsi
Jigsaw - https://rstyle.me/cz-n/hgn7qfdzd2p
Dust Mask - https://rstyle.me/cz-n/hgn7w7dzd2p
Safety Goggles - https://rstyle.me/cz-n/hgn722dzd2p
Dremel Oscillating Tool - https://rstyle.me/cz-n/hgn77ddzd2p
Folding Work Table - https://rstyle.me/cz-n/hgn79pdzd2p
Router - https://urlgeni.us/amzn/erpbn
Plywood - https://rstyle.me/cz-n/hgn8e6dzd2p
Cane - https://urlgeni.us/amzn/7pKr
Fabric Spray - https://rstyle.me/cz-n/hgn8m7dzd2p
Brad Nailer - https://urlgeni.us/amzn/9N5rc
Mineral Spirits - https://rstyle.me/cz-n/hgn8s7dzd2p
Water mister - https://rstyle.me/cz-n/hgn8updzd2p
Foam brush - https://rstyle.me/cz-n/hgn8wwdzd2p
Peel and stick paper - https://urlgeni.us/amzn/404Tk
Kit to apply peel and stick - https://rstyle.me/cz-n/hgn83zdzd2p
Howard’s Feed and Wax - https://rstyle.me/cz-n/hgn849dzd2p
Brush to apply wax - https://rstyle.me/cz-n/hgn87pdzd2p
Water based Poly - https://urlgeni.us/amzn/iLCTg
Paint Sprayer - https://urlgeni.us/amzn/IG5Zn
Hardware - https://urlgeni.us/amzn/VAnGJ
The Final Reveal: My Favorite Dresser Makeover Yet?
I still can't believe this is the same dresser.
Seriously.
Sometimes I walk past it and just stare because the transformation is SO different from what I started with.
And I don't usually spend a lot of time patting myself on the back.
In fact, I'm trying to get better about actually celebrating the things I create instead of immediately moving on to the next project.
But this one?
I'm really proud of it.
Between the natural wood, the new arched doors, the cane detailing, and the updated hardware, it turned out even better than I imagined.
It's easily one of my favorite furniture makeovers I've ever done.
And it's a good reminder that sometimes the most outdated pieces have the most potential.
You just have to be willing to look past what's already there and imagine what they could become.
So next time you're scrolling Facebook Marketplace and come across a dresser with those super-ornate cabinet doors, don't automatically scroll past.
You might just be looking at your next favorite furniture makeover.
This post contains affiliate links. If you purchase through my links, I may earn a small commission at no additional cost to you. Thank you for supporting Builds by Ashley!